In the Loft
a visual novel style experiment.
This was an exploration of a workflow that went something like this:
Create building with interior in Revit
Use datasmith to import directly into Unreal Engine
Tweak Textures and such in Unreal
Pose characters and compose camera shots in Unreal, create still images
Use Photoshop and Comfui with FLUX to turn the Unreal-rendered images into realistic images
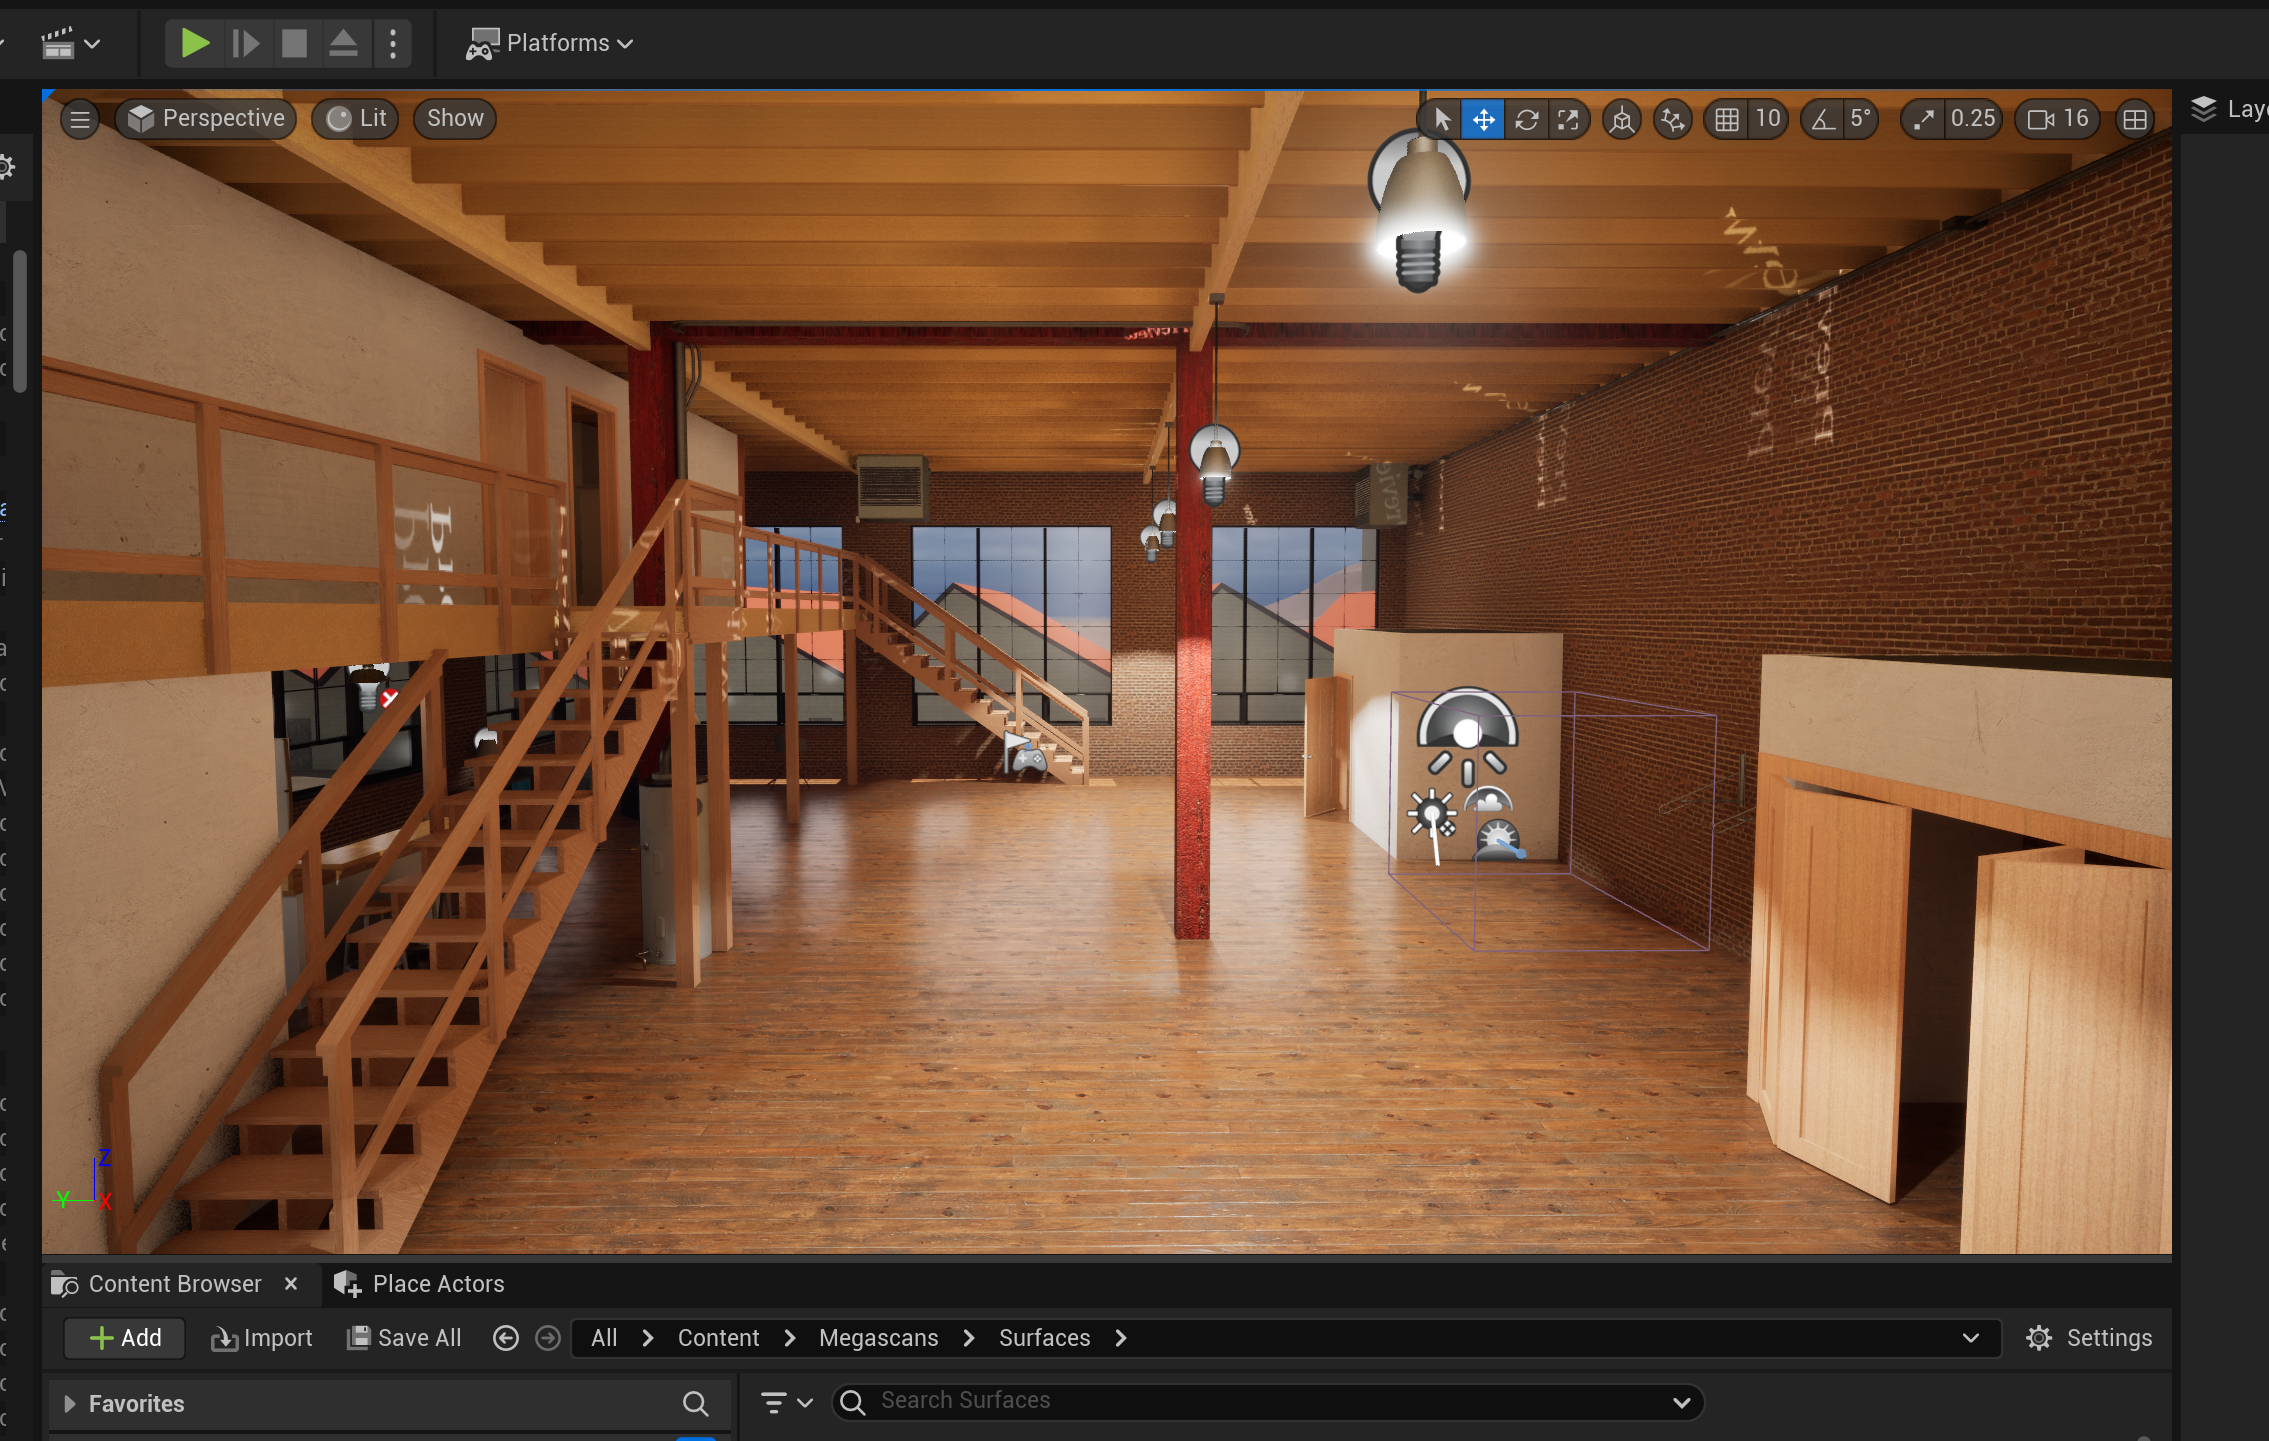
Along the way, I learned that the datasmith export is well and fine for interiors when you want every object to be seperate, but if you want single props like a building in the background, it was better to export from Revit to Blender, and then from Blender to Unreal.
The initial import of the Datasmith files entailed a lot of cleaning up and replacing textures that didn’t import correctly.
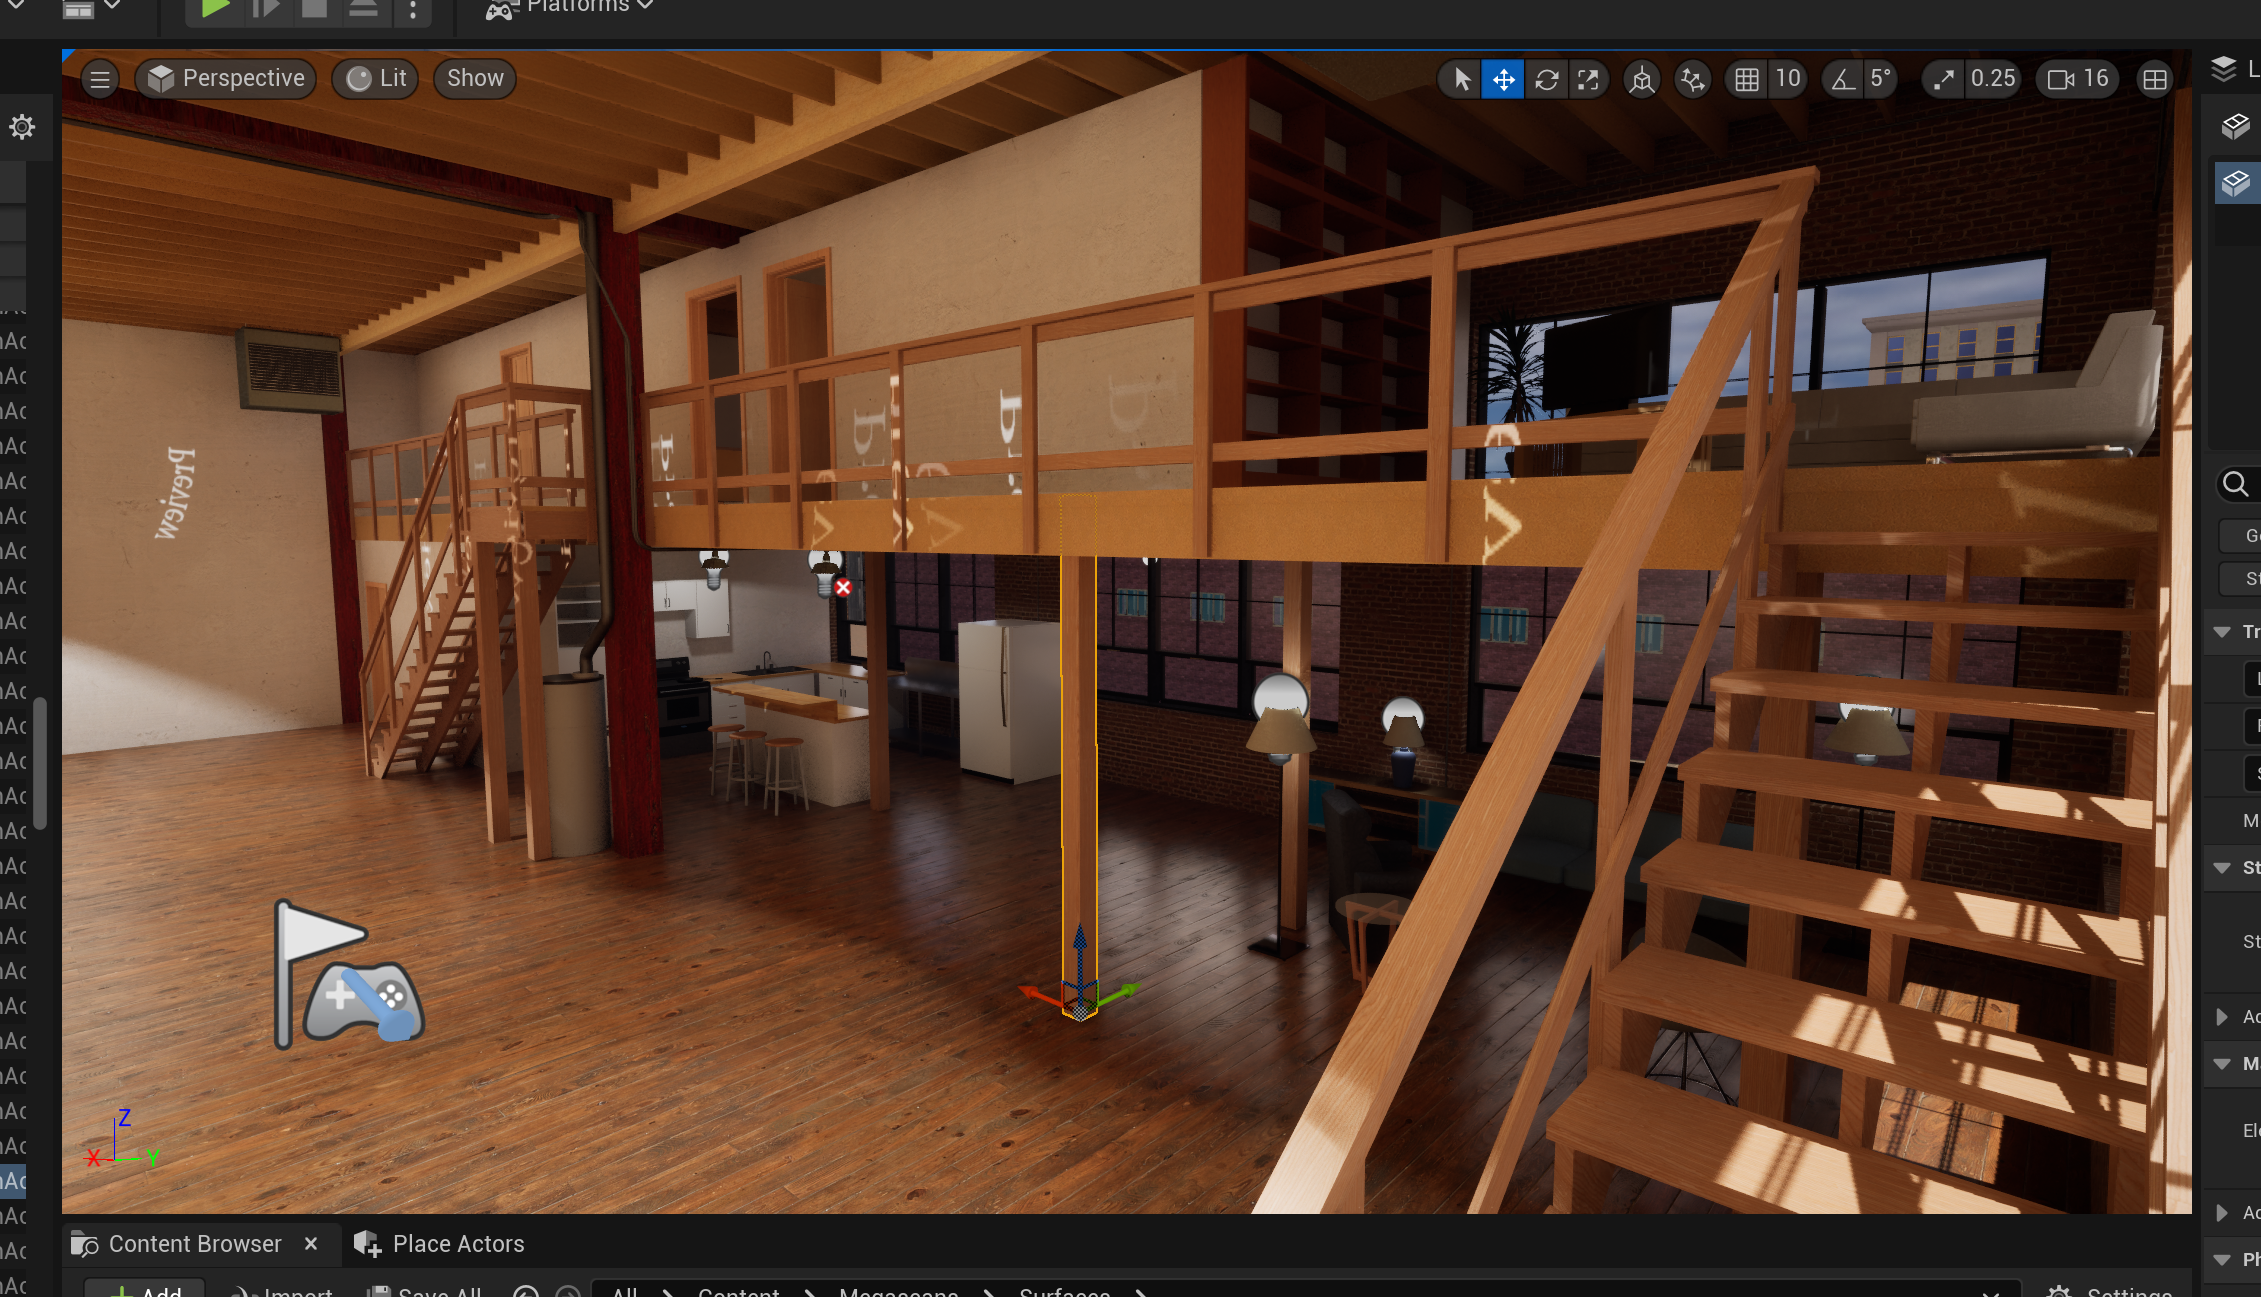
Screenshot from Unreal Editor

Unreal is capable of extremely realistic lighting effects, and learning this system was a challenge.
However, the goal isn’t 100% realism, it is mostly to get the lighting and textures to a point where it is “realistic enough,” and see if stable diffusion based image-to-image processing can get it the rest of the way there.
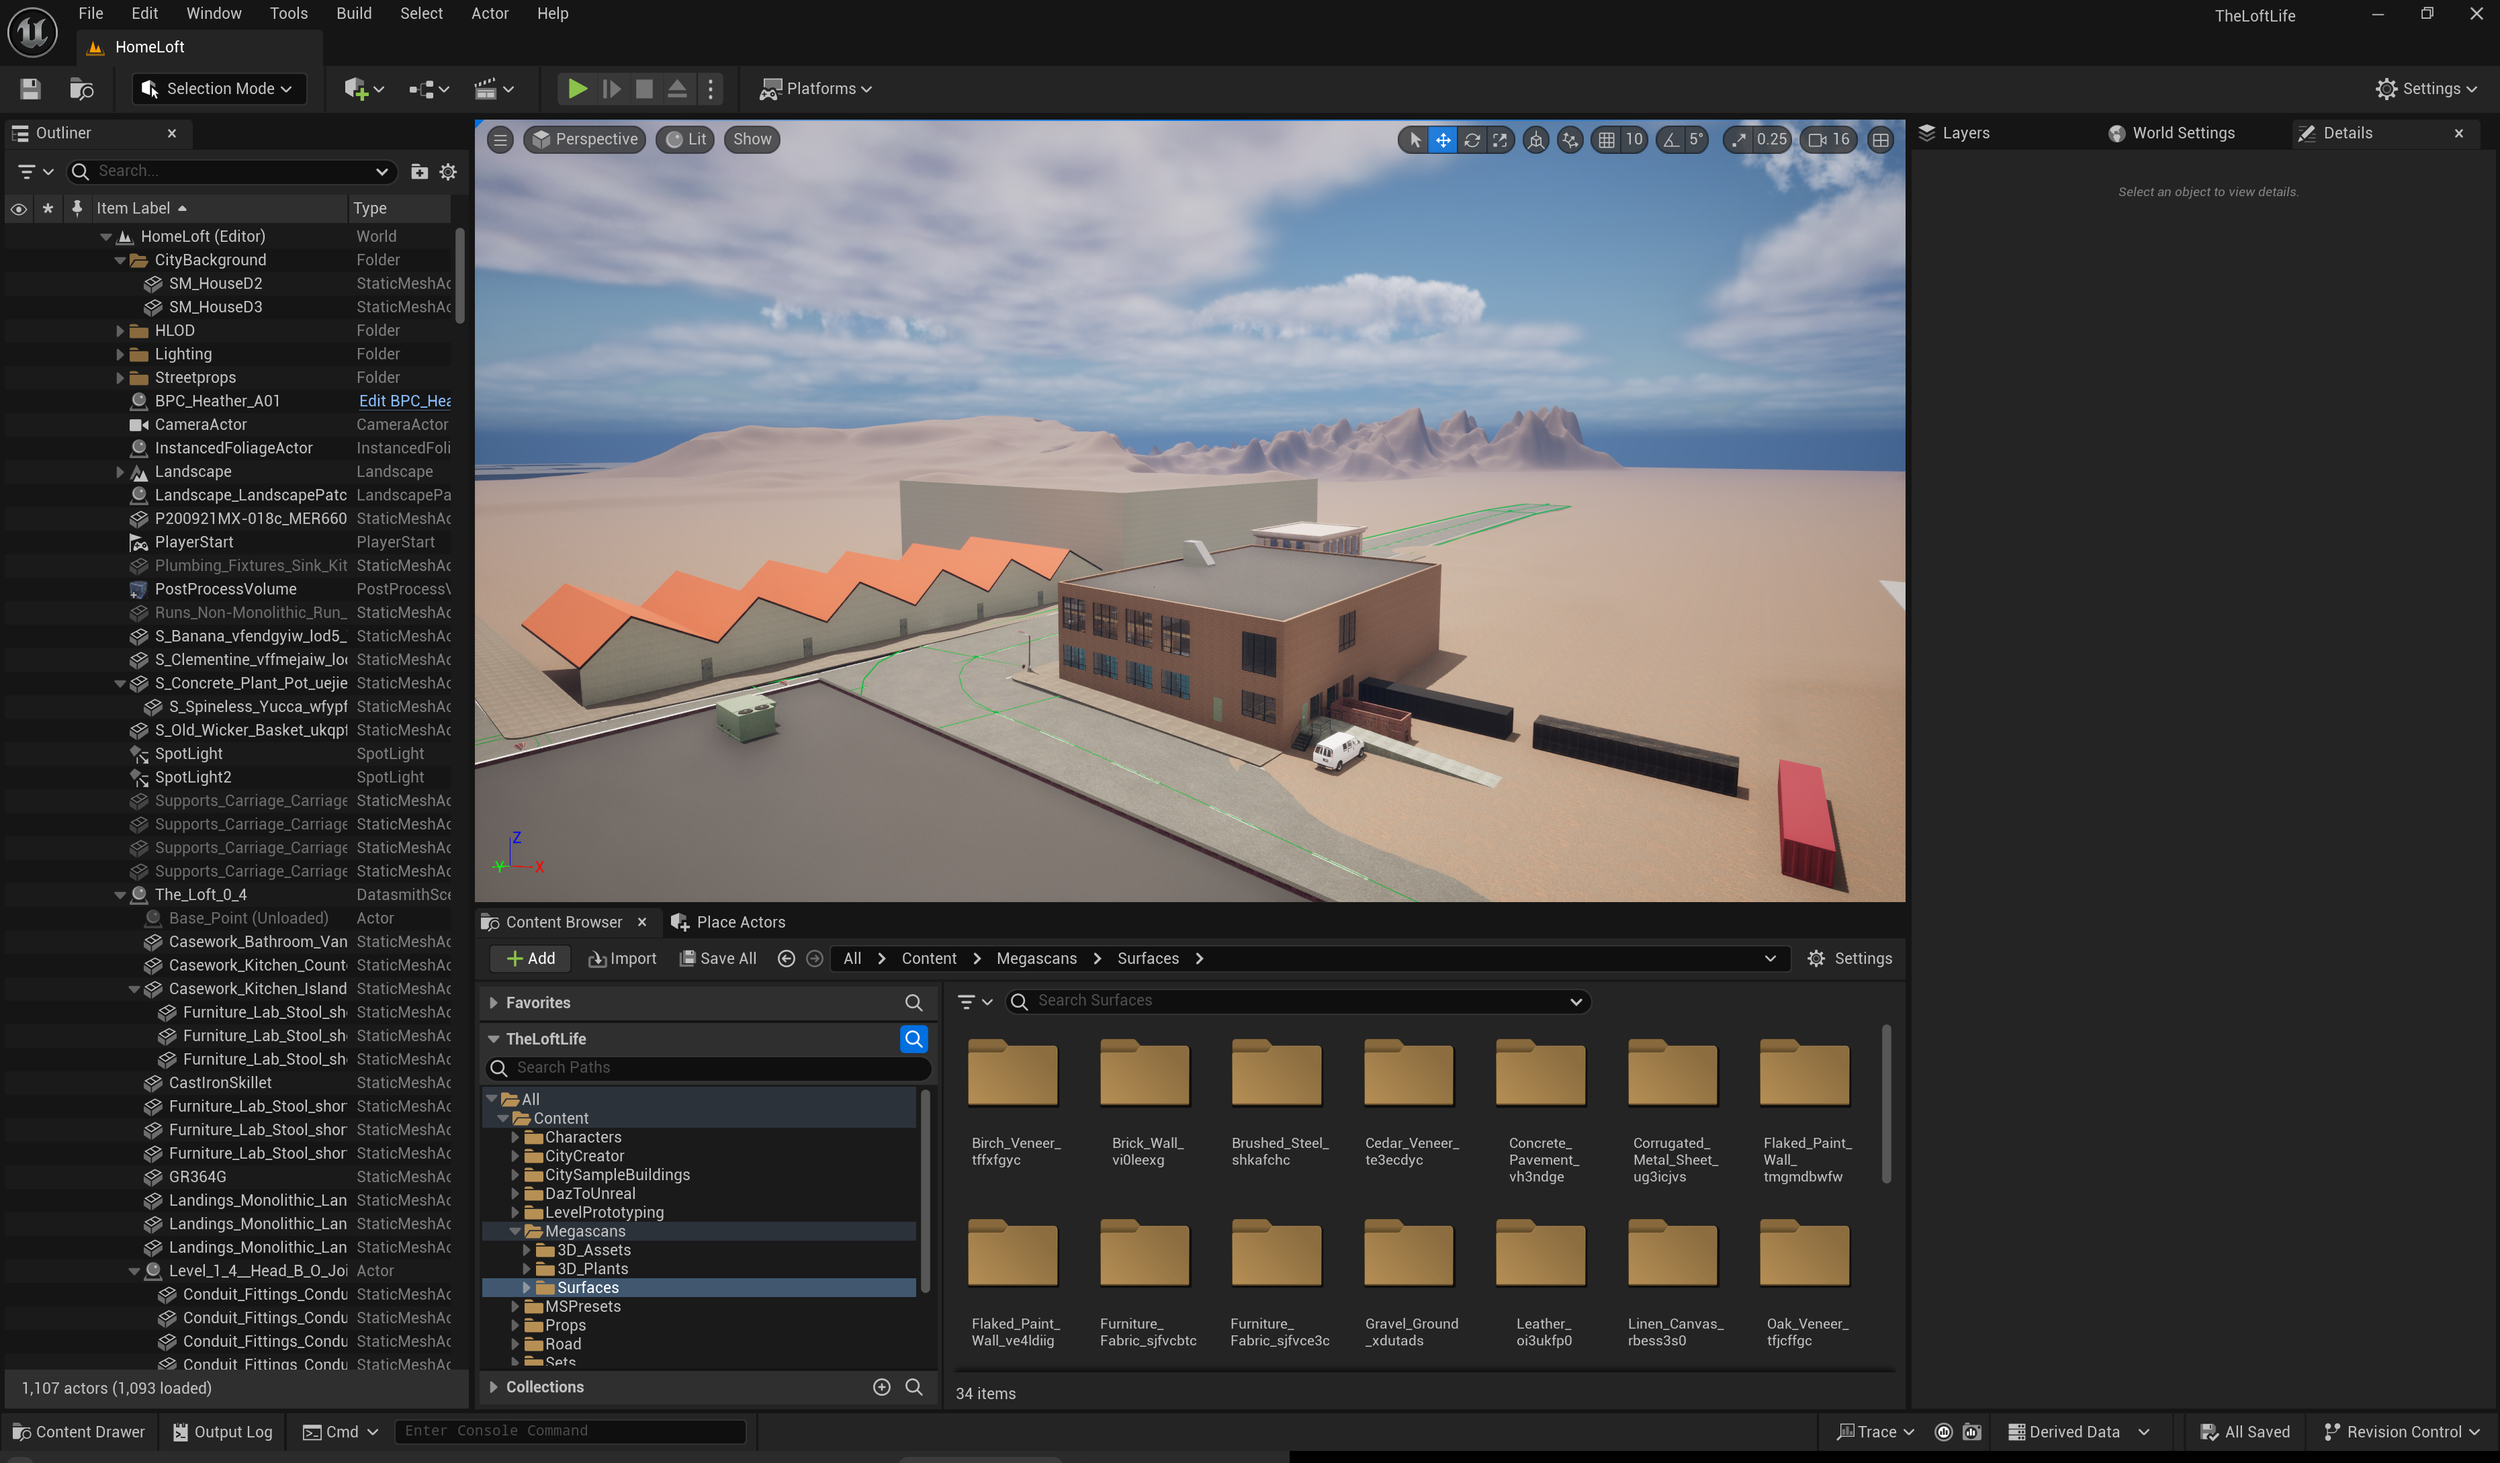
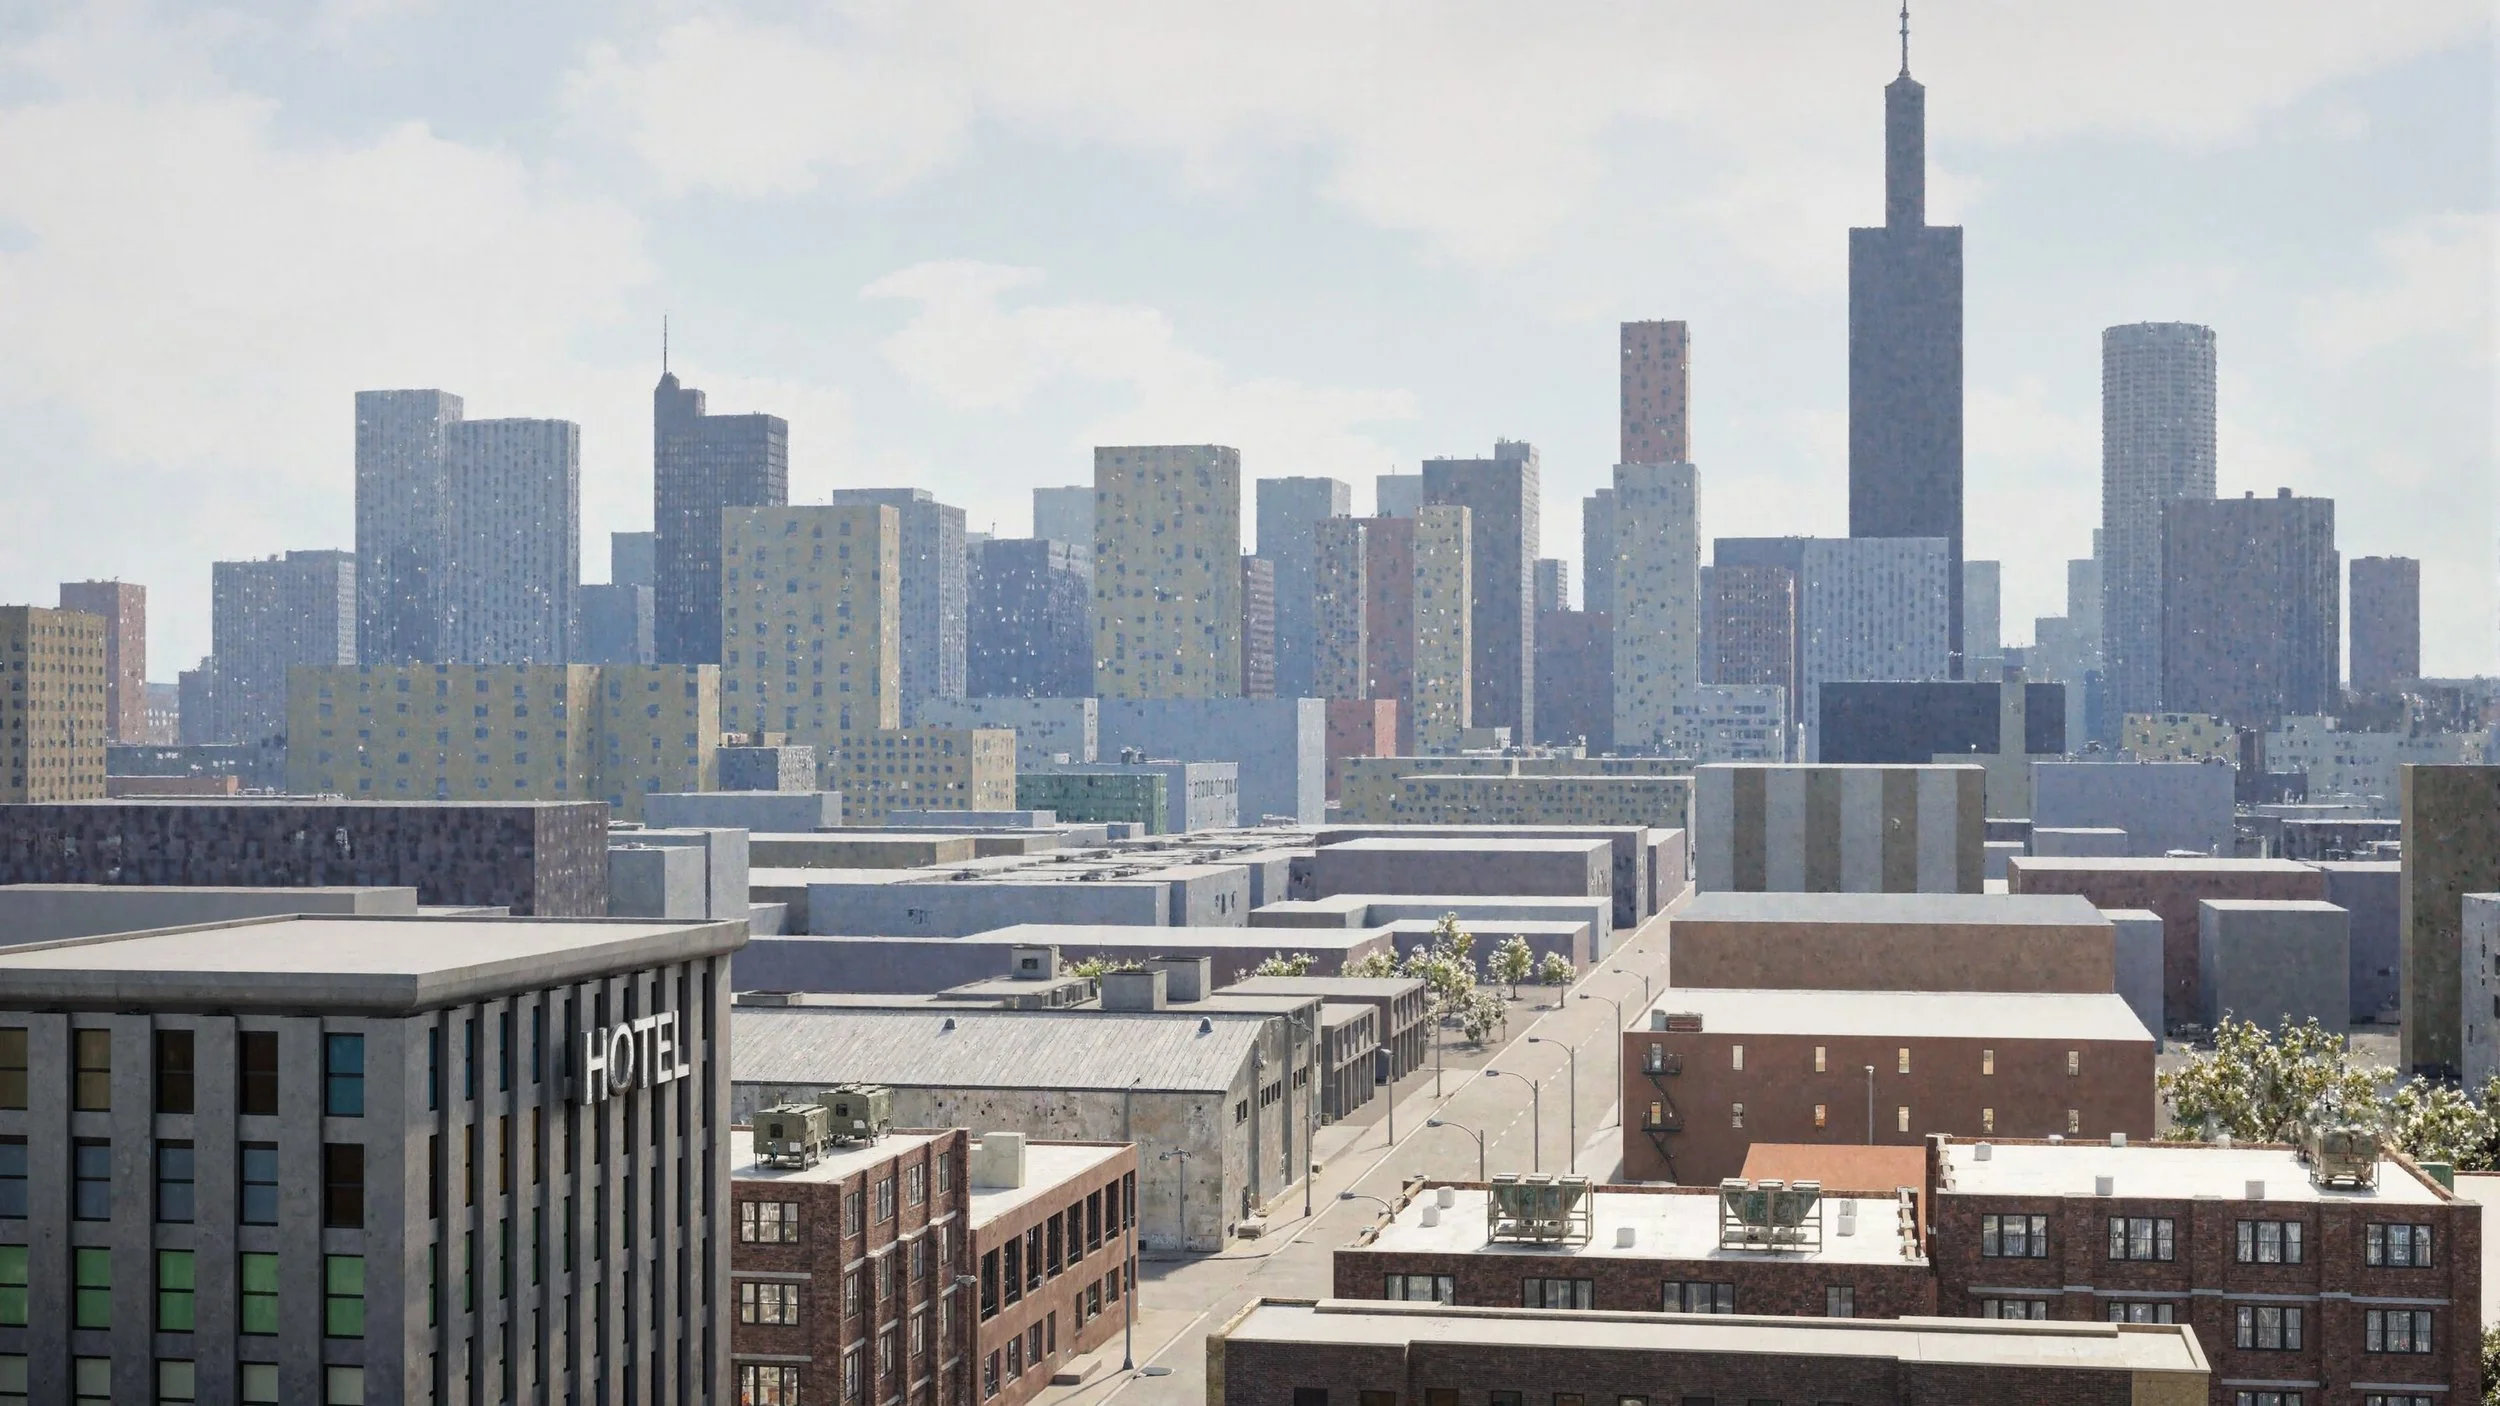
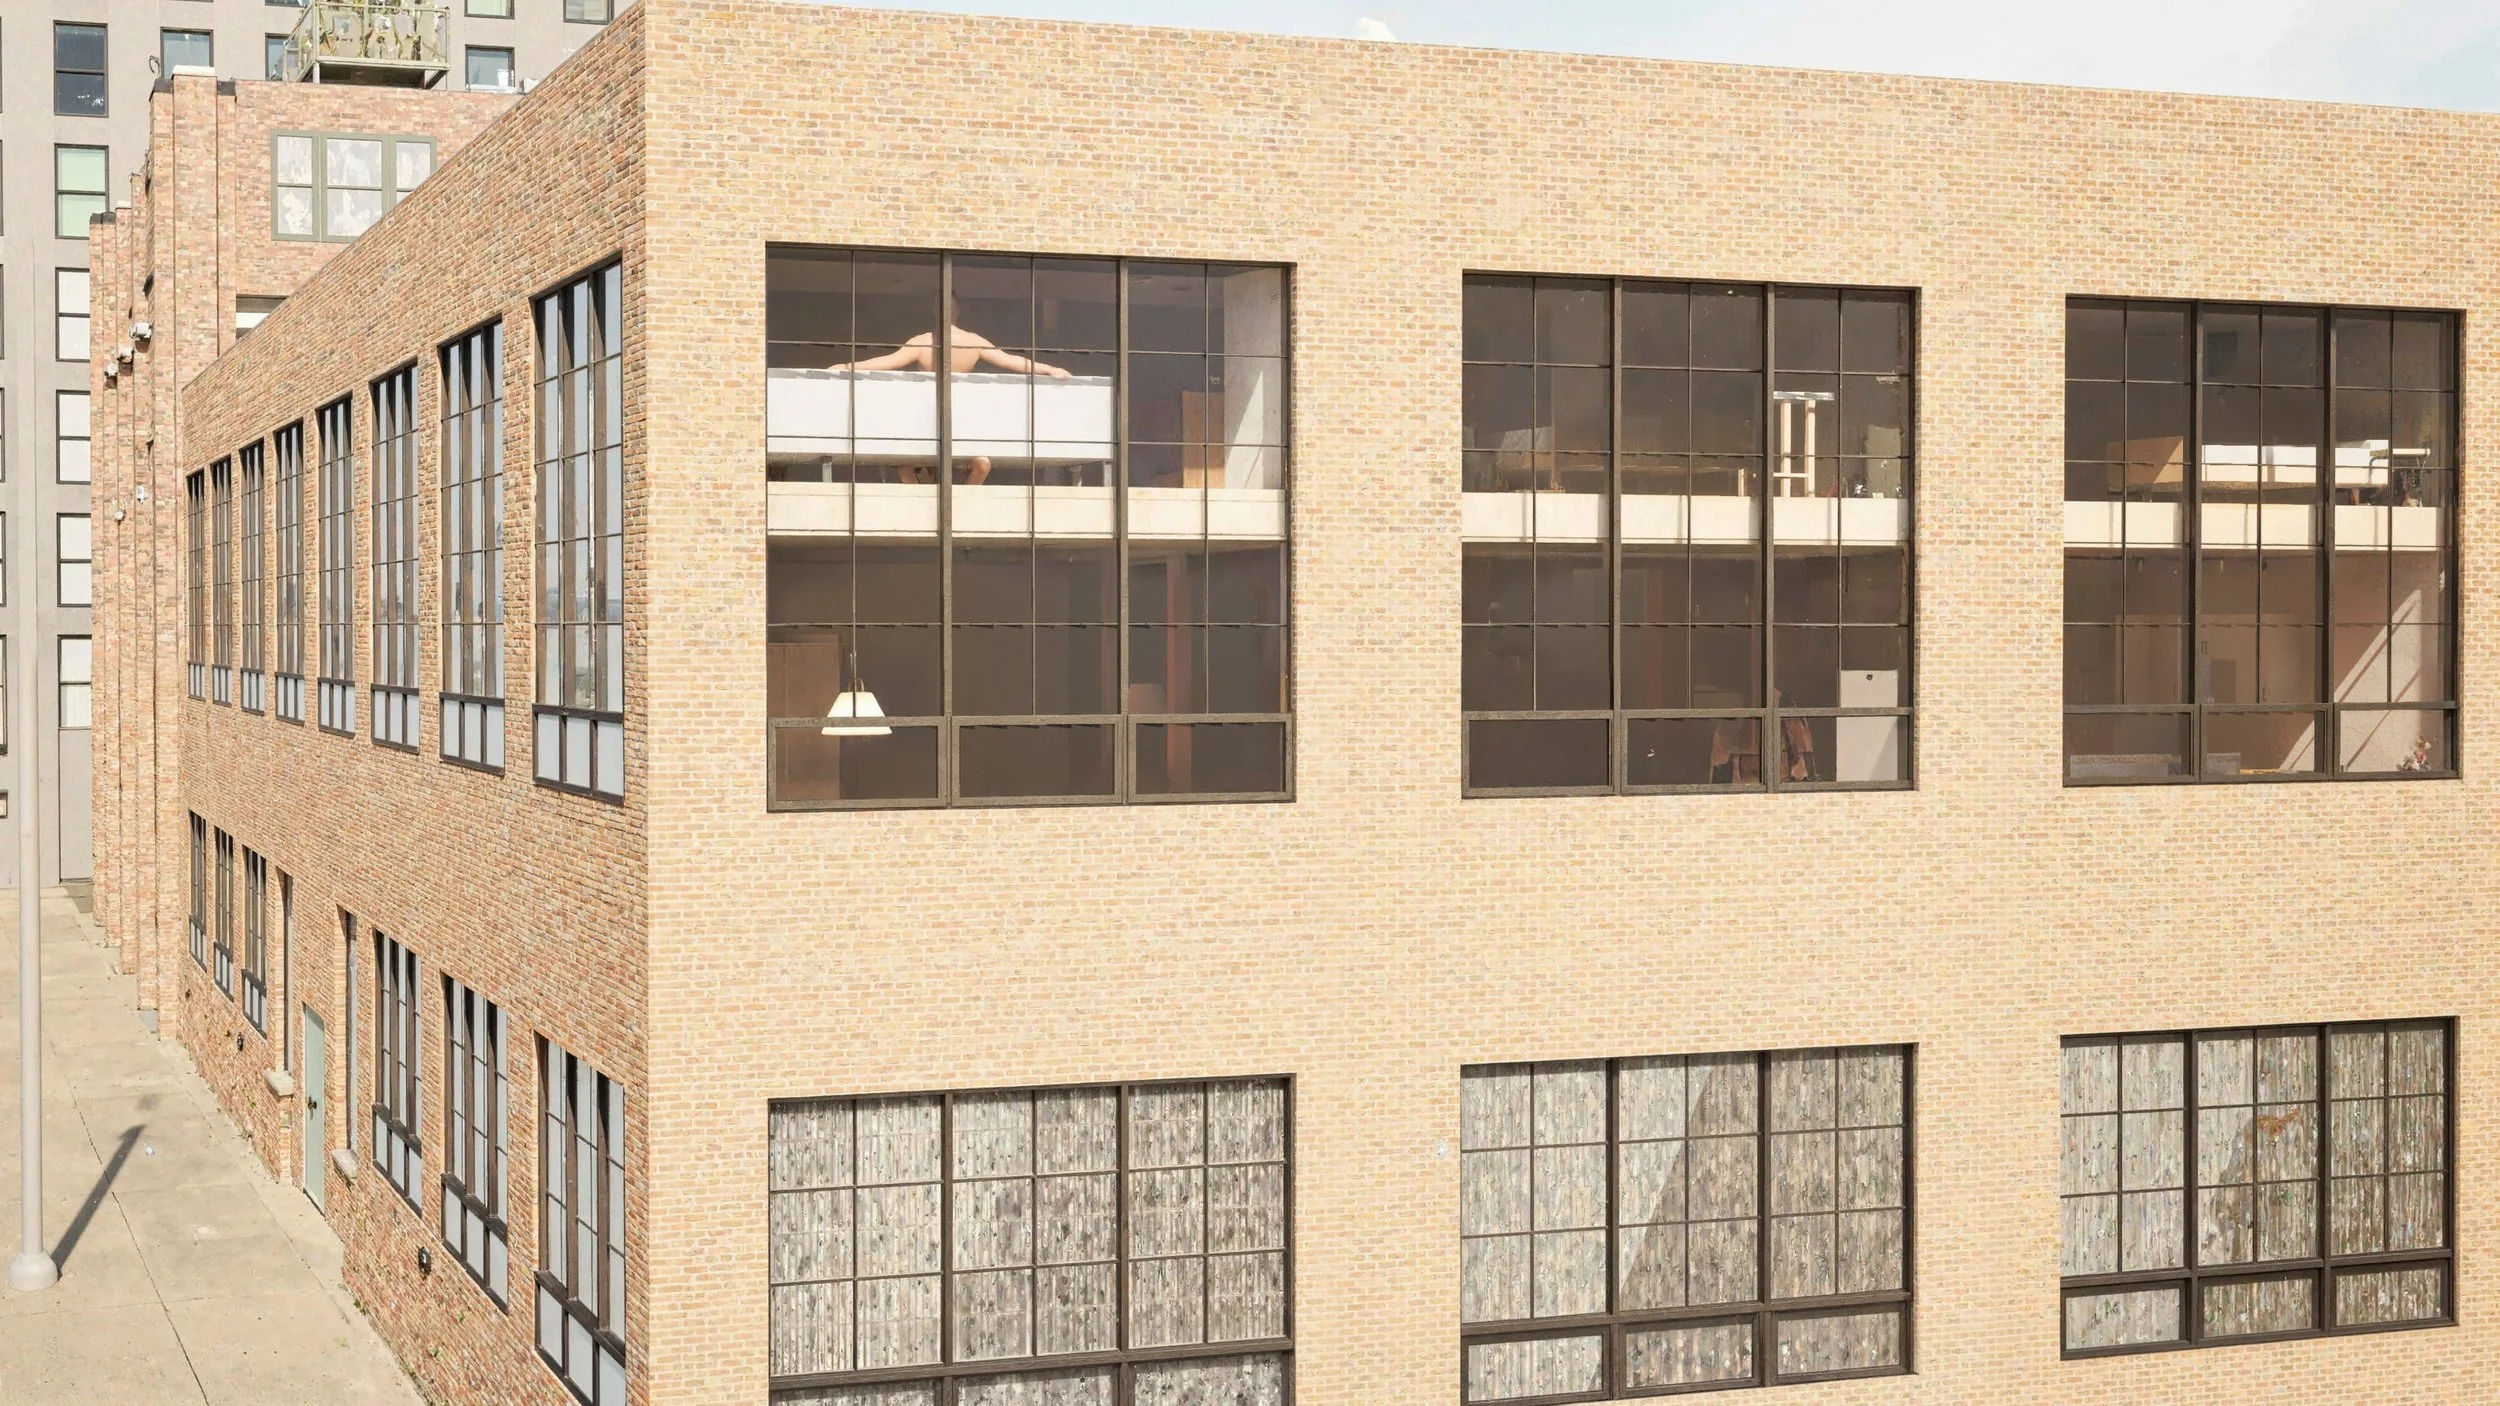
I wanted to have more detailed buildings visible in the background, so I quickly created this industrial building in Revit. This resembles any number of 100-year old industrial buildings in Chicago.
Instead of importing it via Datasmith, I exported it as a .fbx to Blender, where I joined the meshes and chose better textures.
From there, I imported into Unreal as a single .fbx. You can see this building in the lower right-hand corner as two different instances, one turned 90° from the other. Note the blurriness of the buildings in the far background.
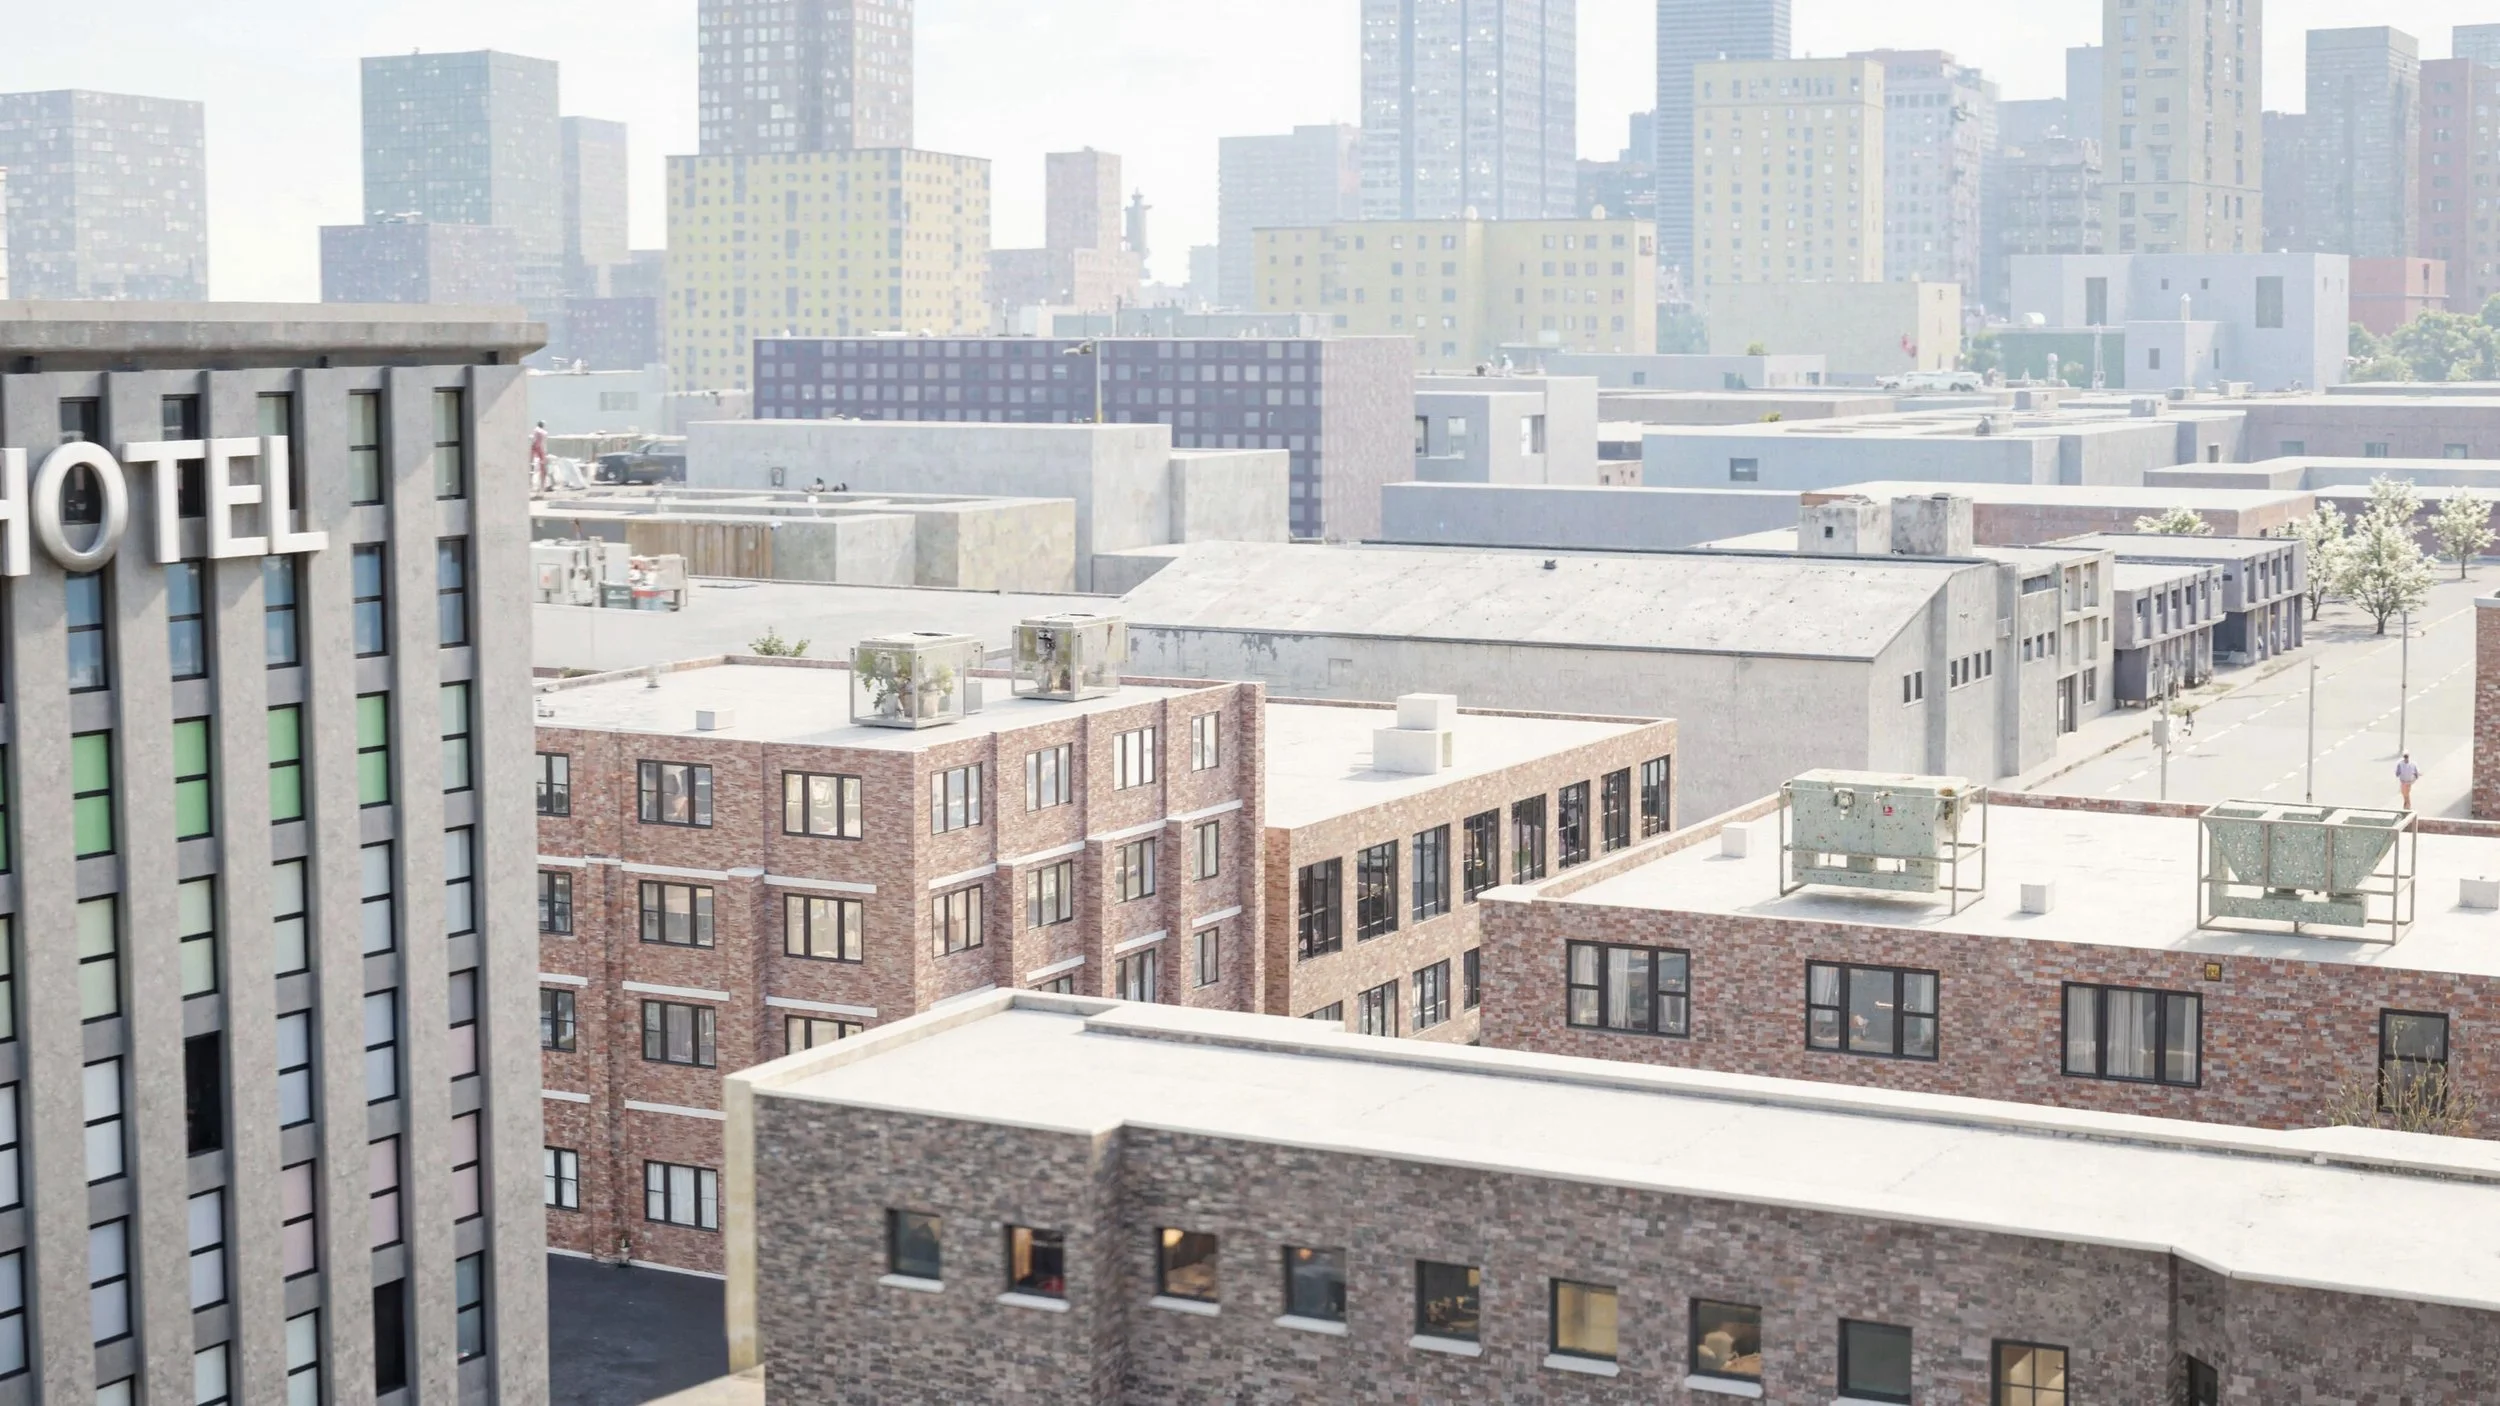
This is the result of running the image through image-to-image processing with Flux 1.D, with a low denoise value. Note that the blurry textures in the far buildings have been transformed into believable building textures, and the near buildings, that looked too “clean” before, have gotten some realistic variation in their textures and lighting.
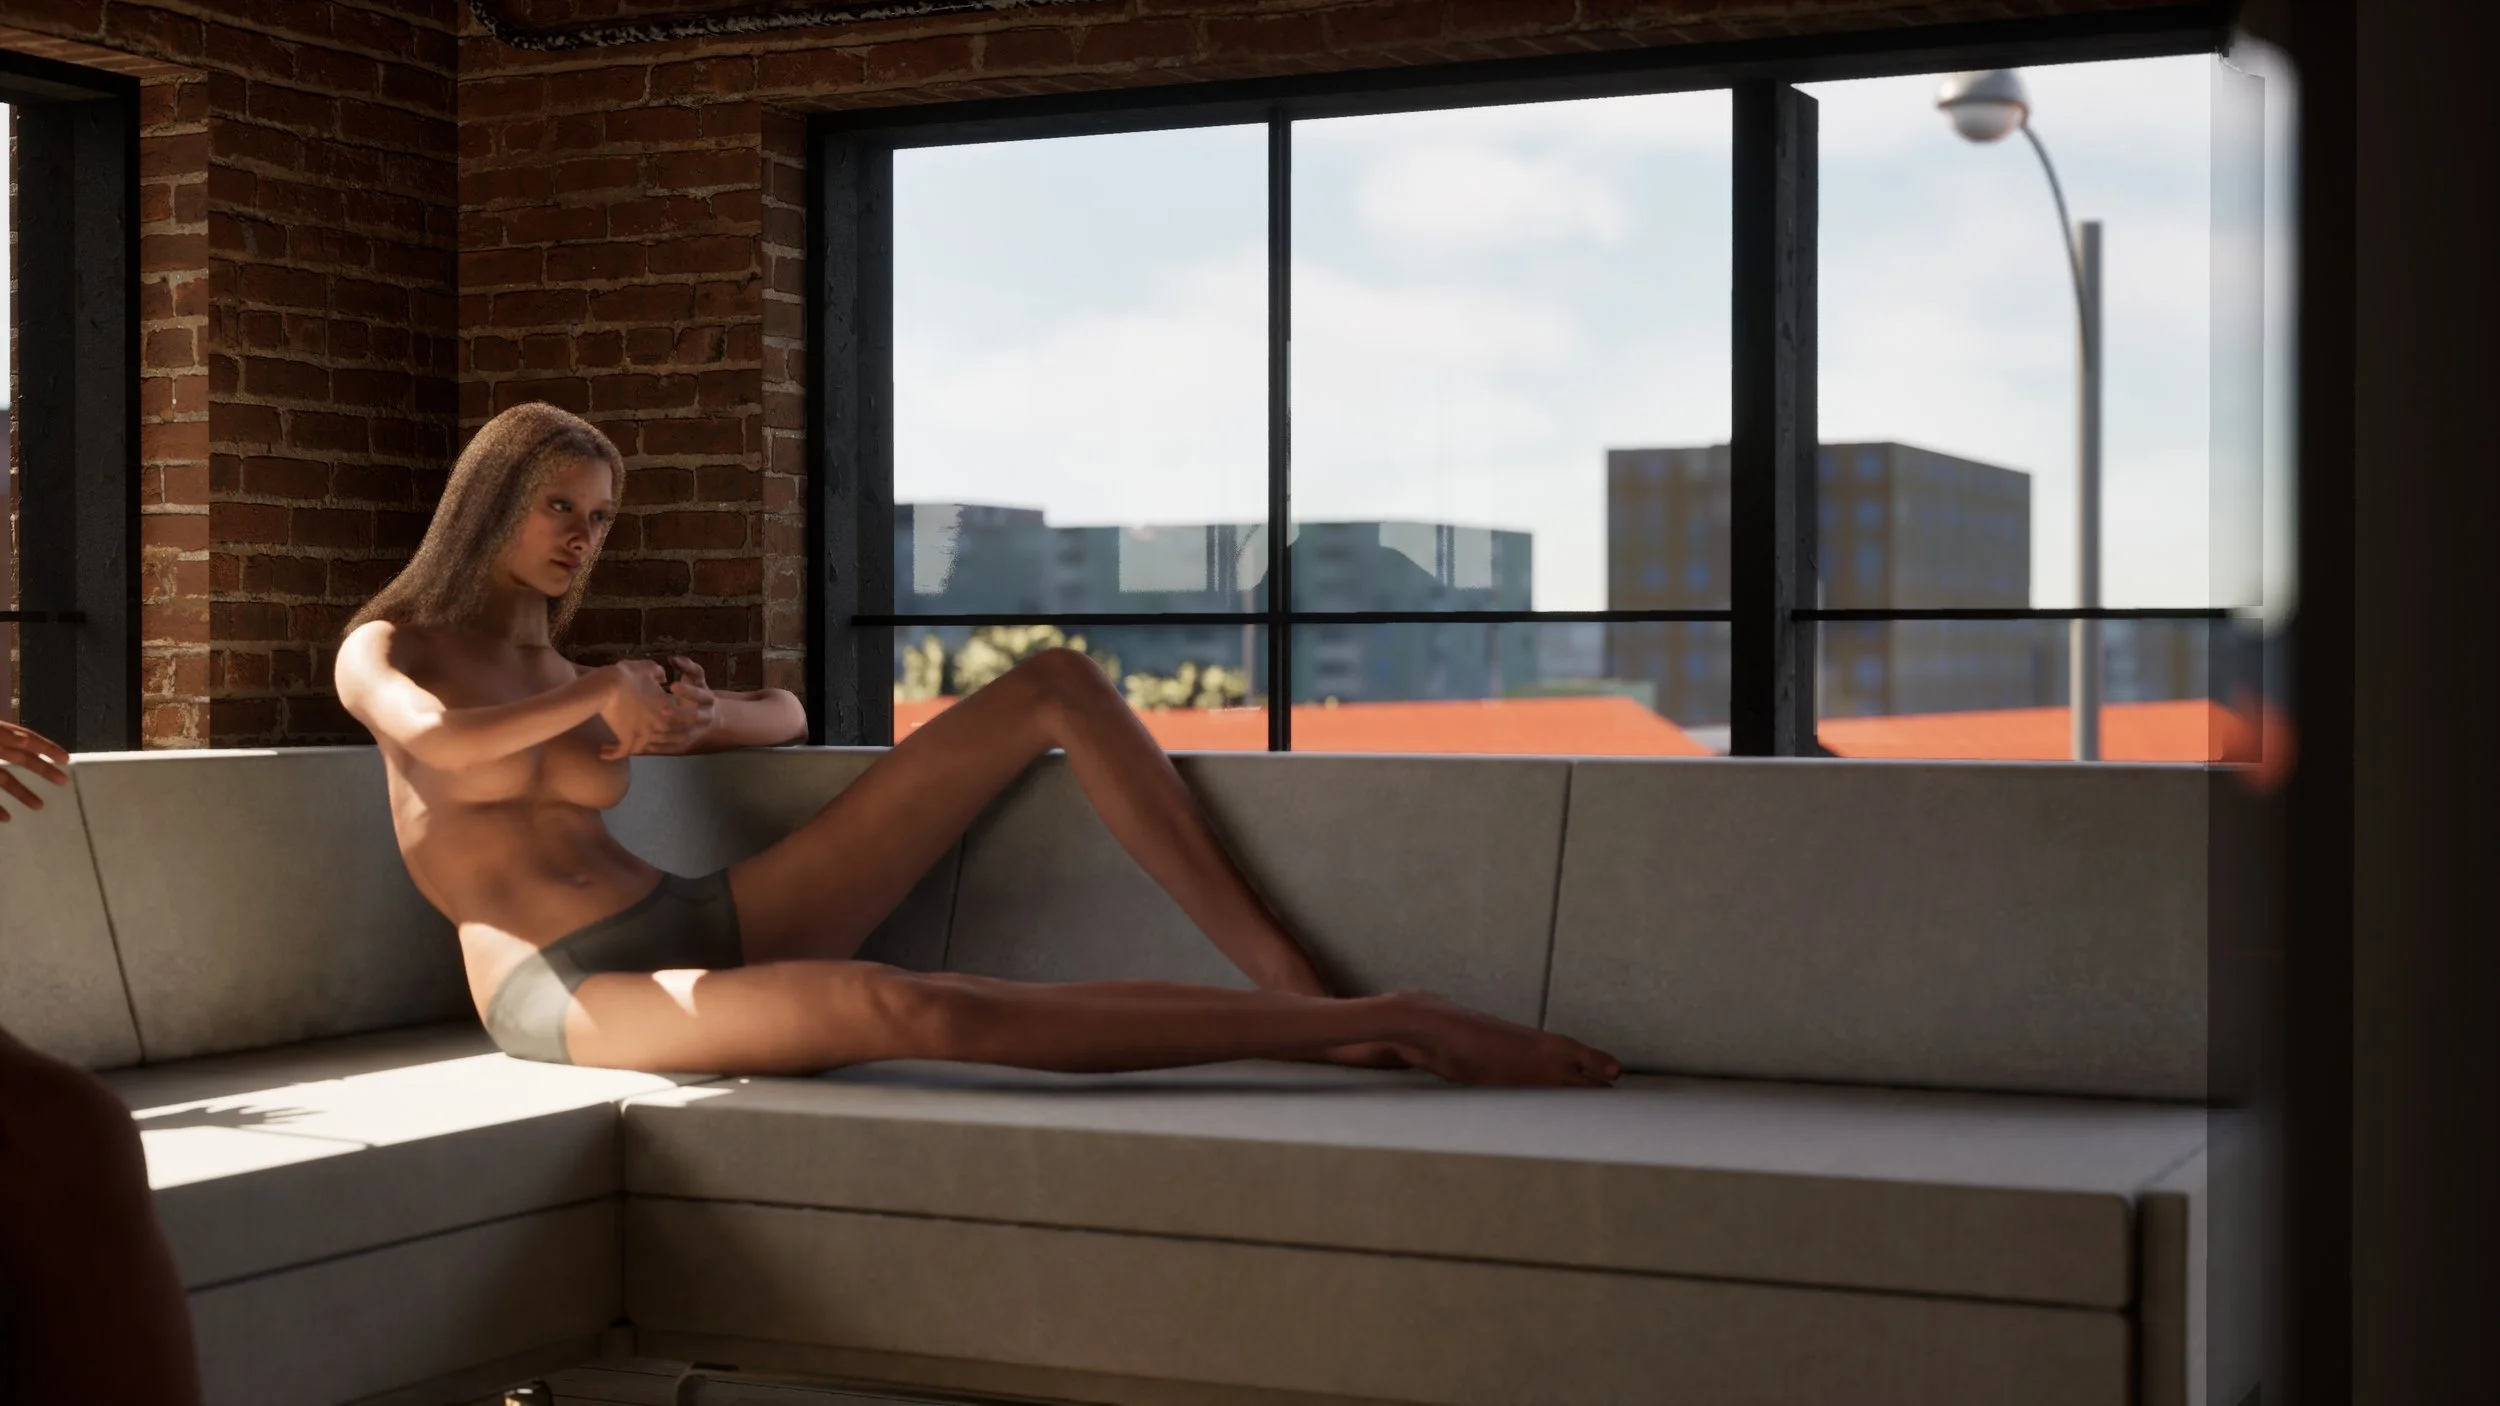
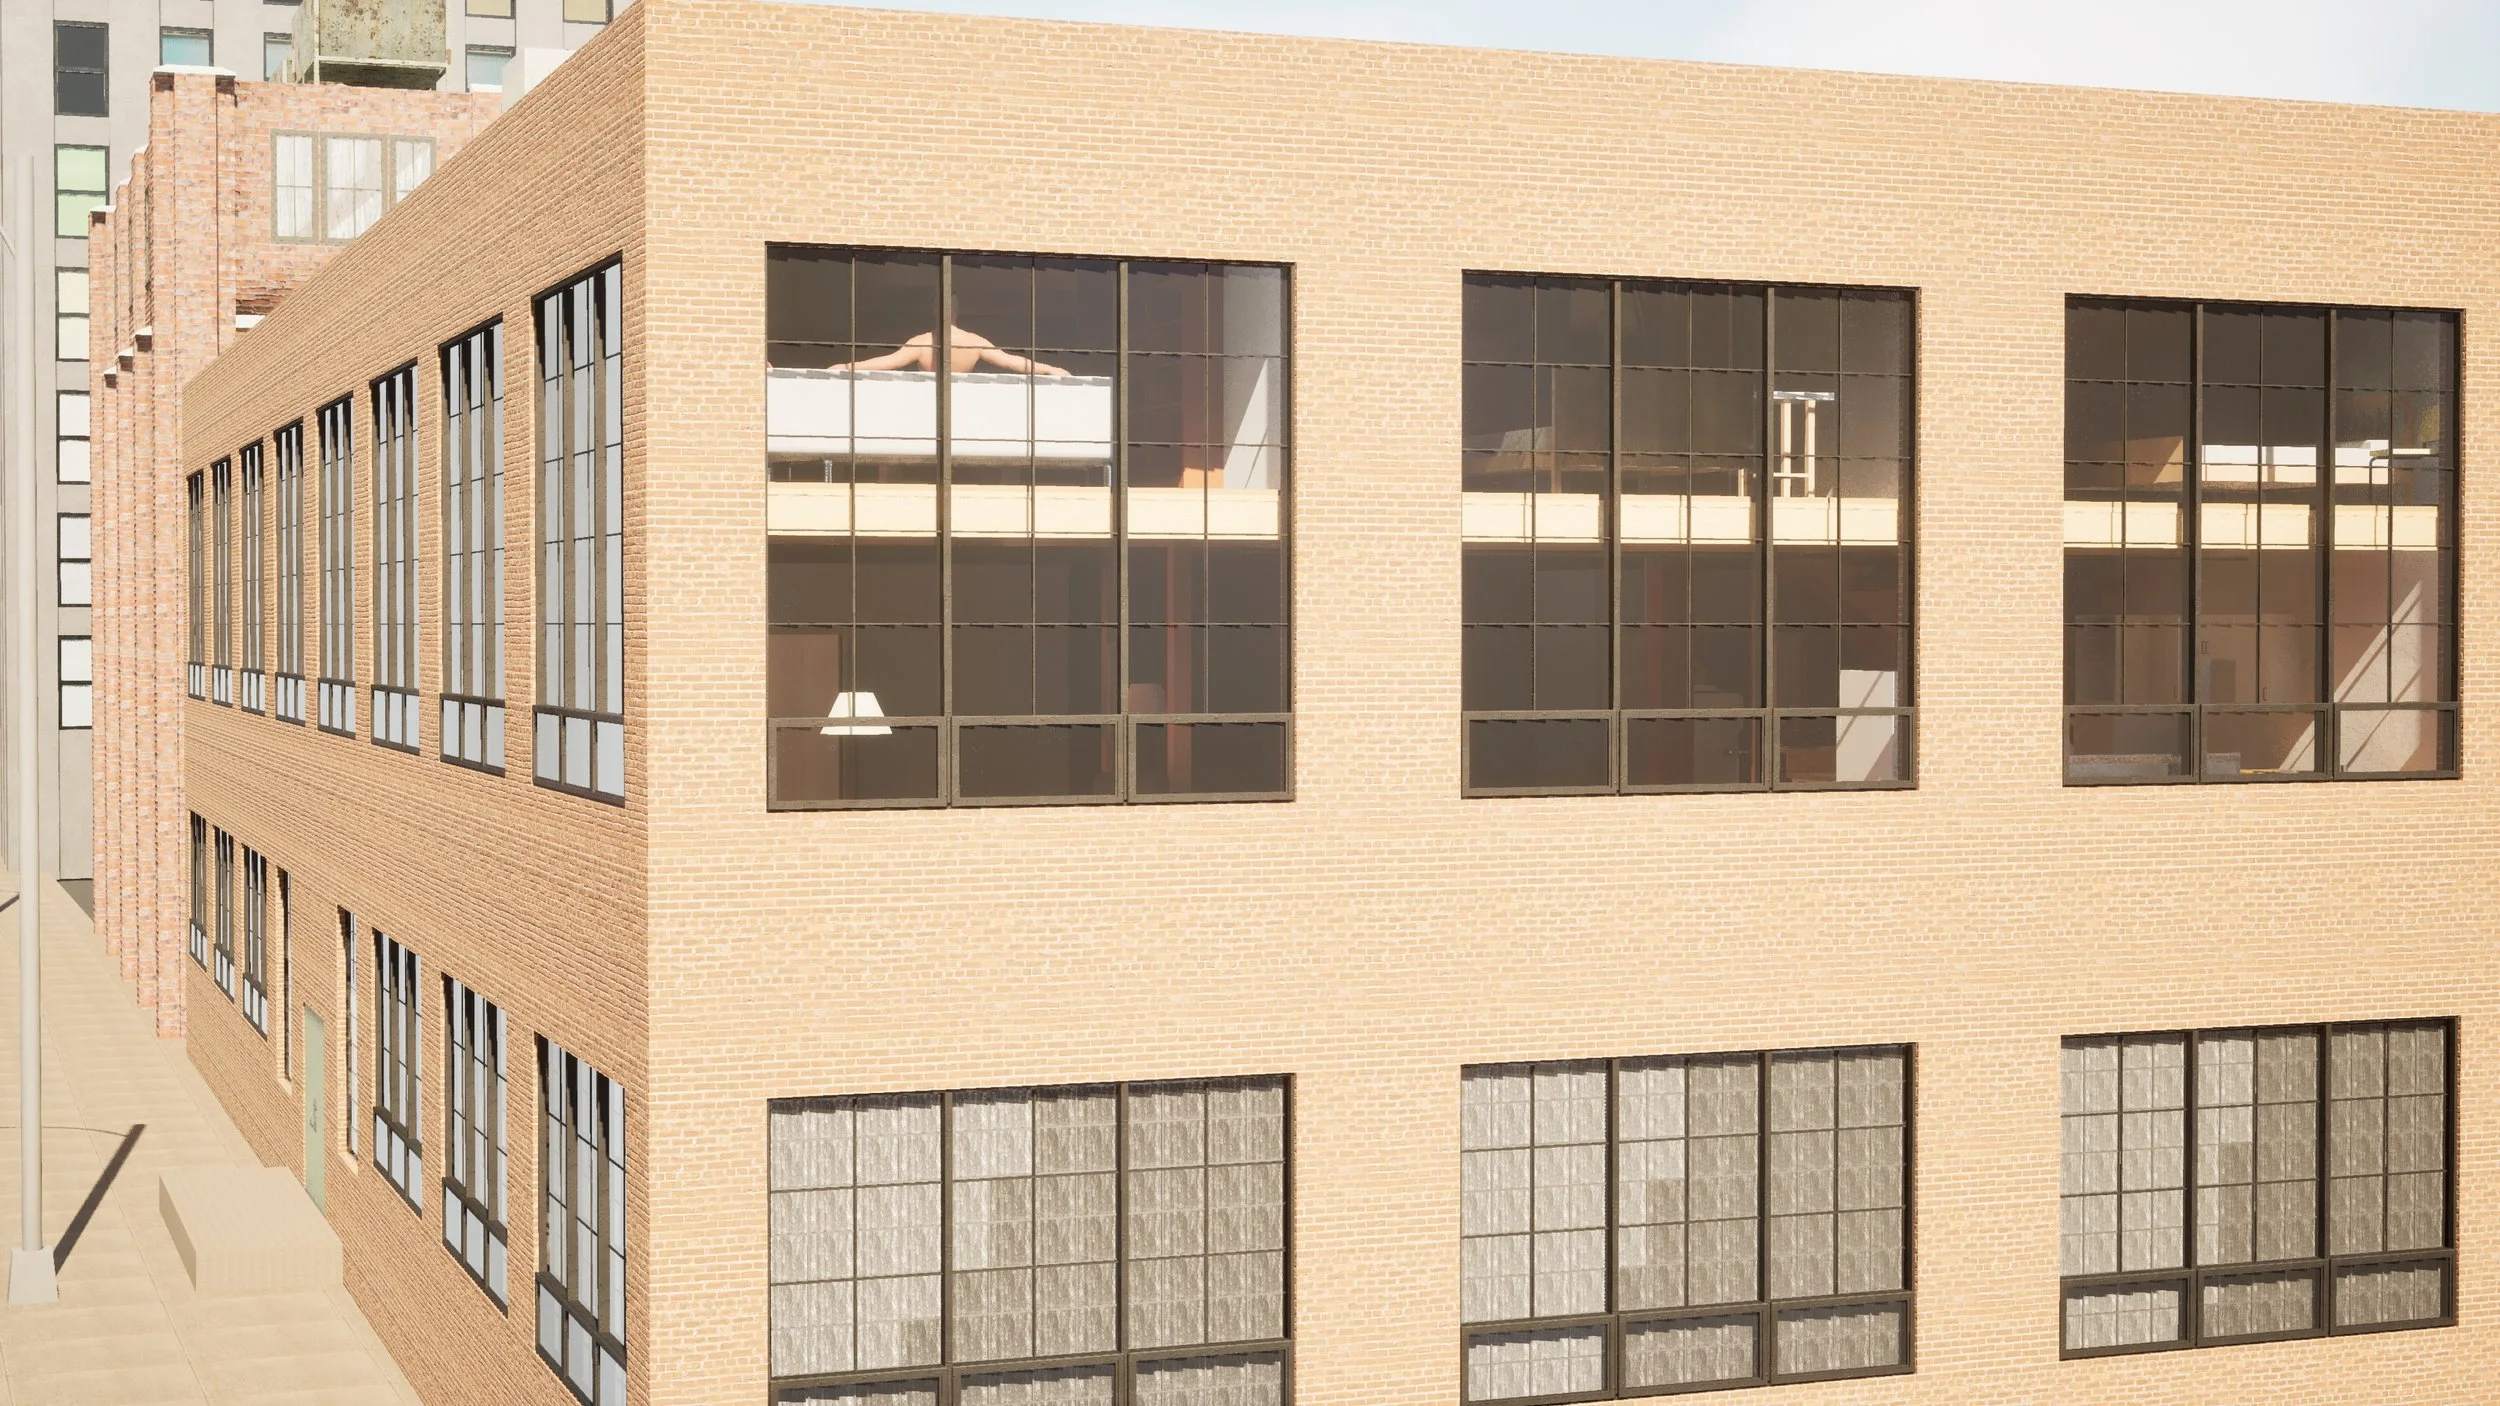
The sequence continues to zoom in on the hero loft, swinging the camera around to focus on this window. Notice how perfectly square everything is — it looks blocky and fake.
Again, a little denoise value with image-to-image processing results in a more realistic image. The too-regular texture patterns have been broken up a bit, and the shadows look more natural as well. The papered-up windows on the 1st floor a bit more irregular.
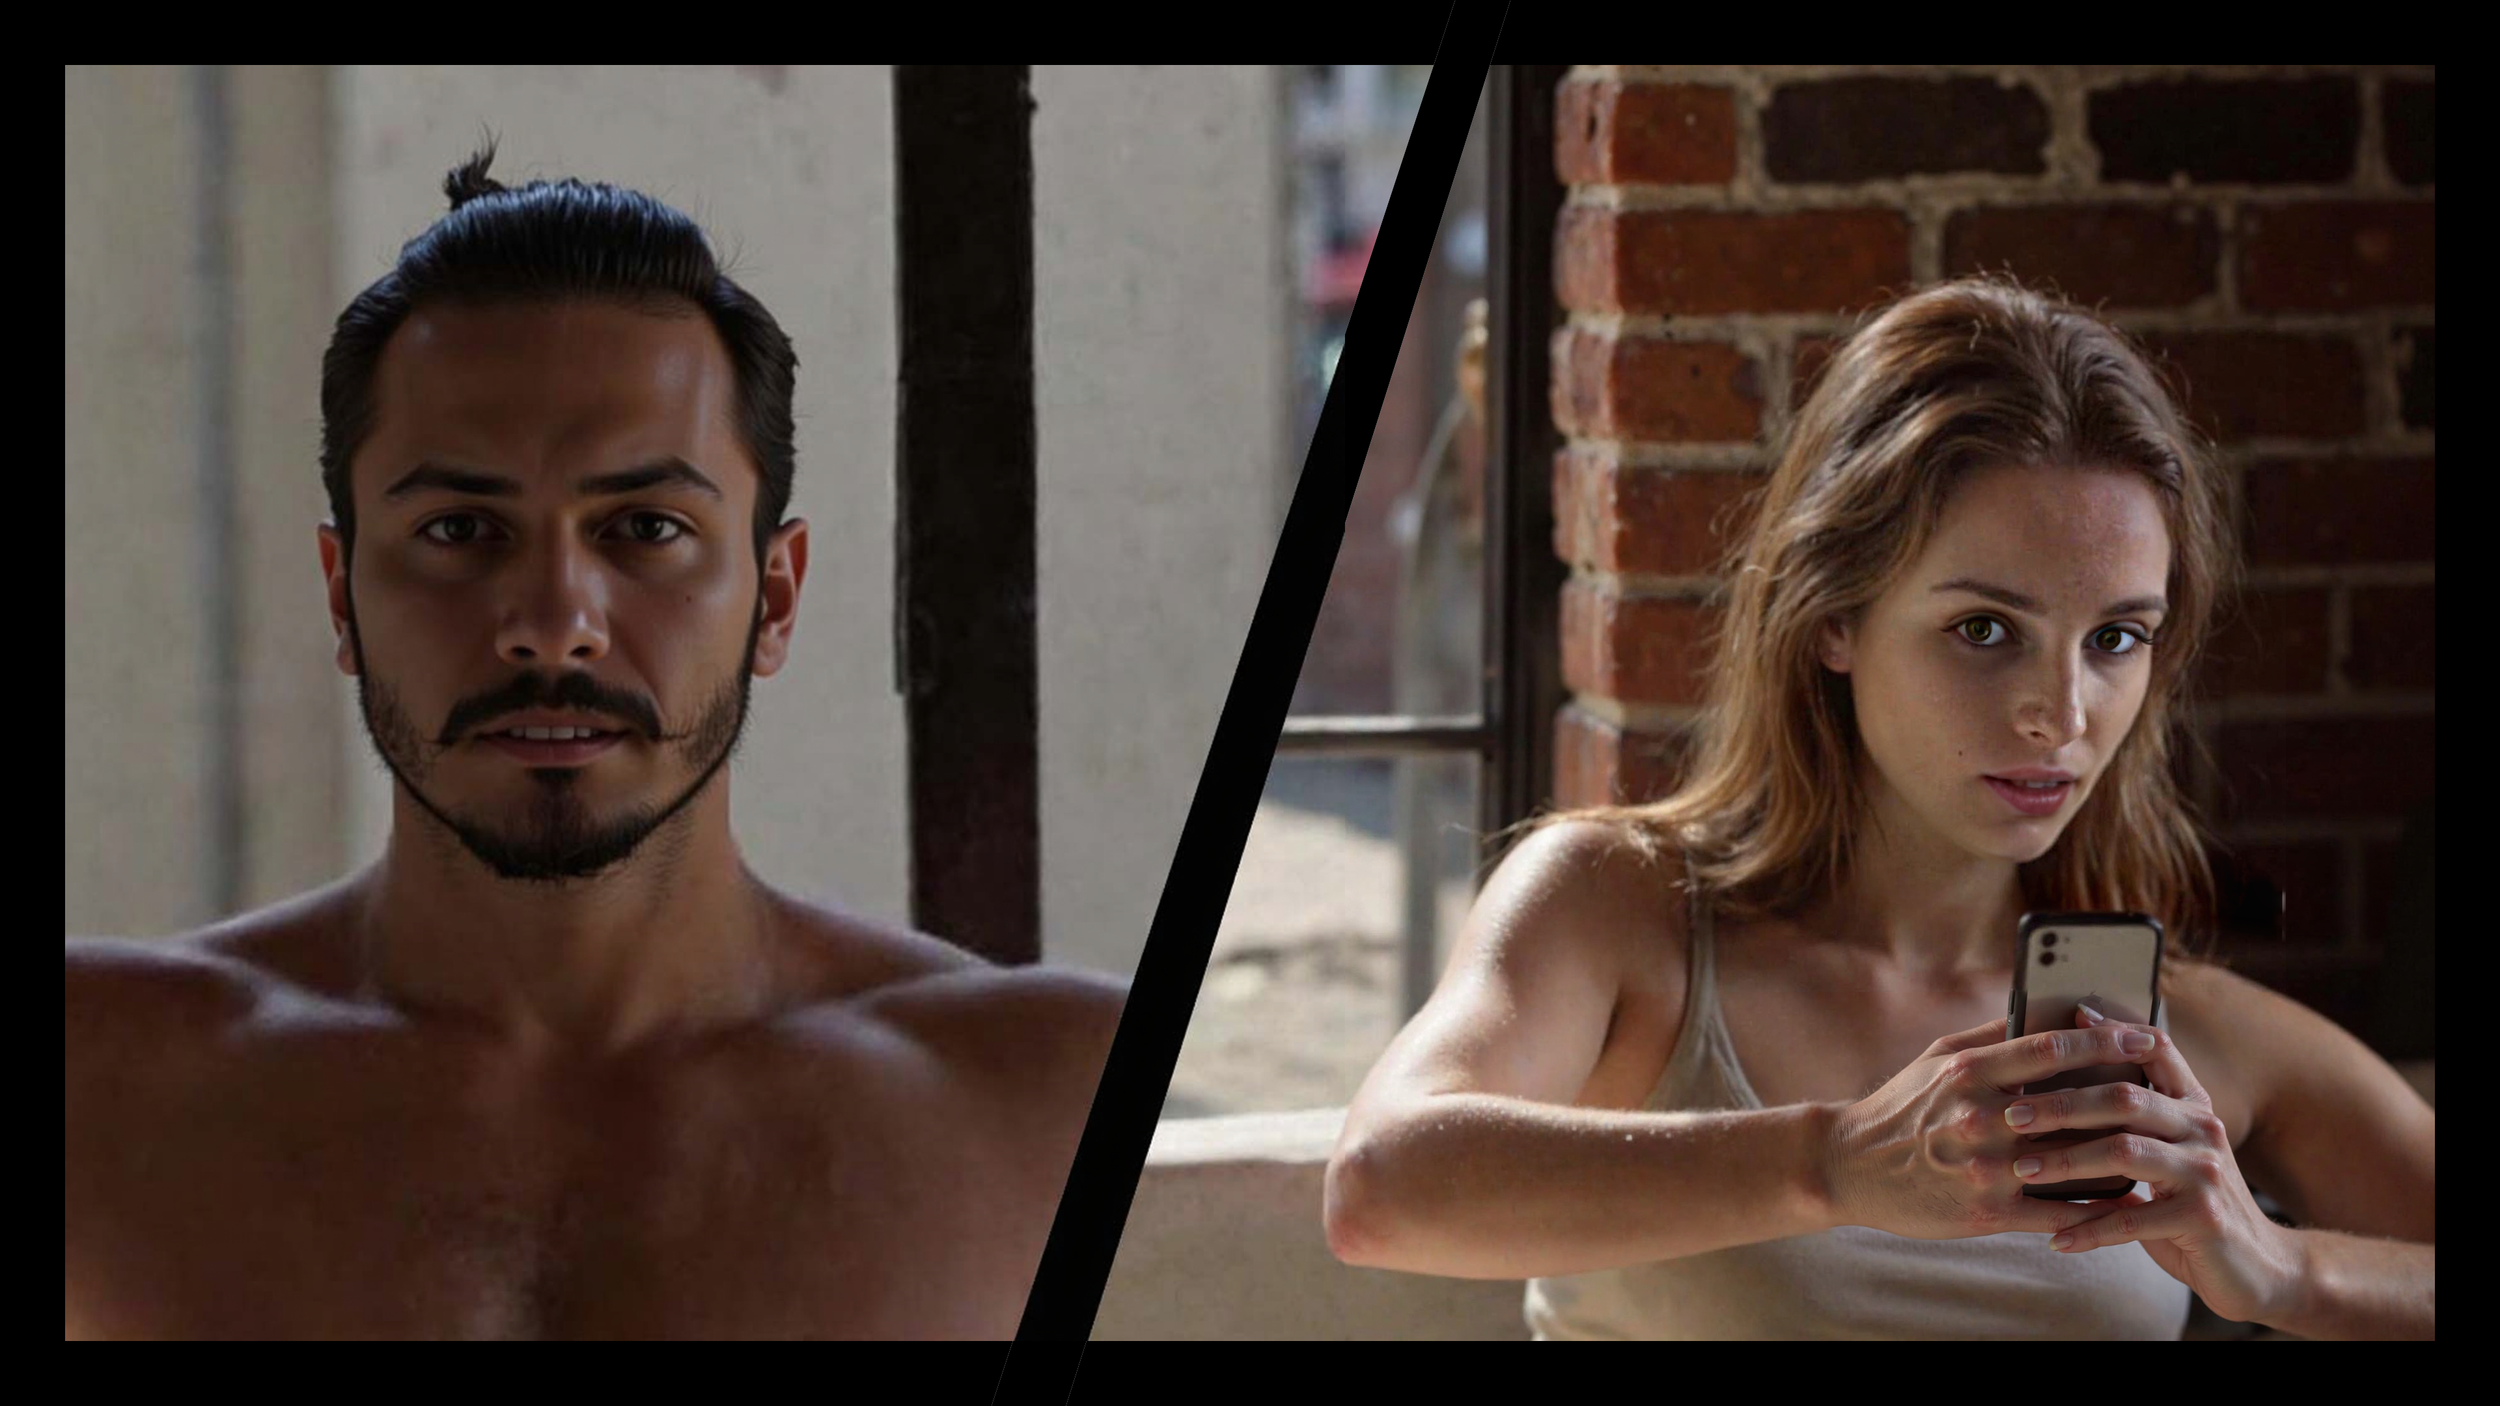
By zooming in and cropping, then upscaling the image, it is possible to create more detailed frames like this.
Photoshop and Flux Kontext make it easy to adjust the character’s expressions.


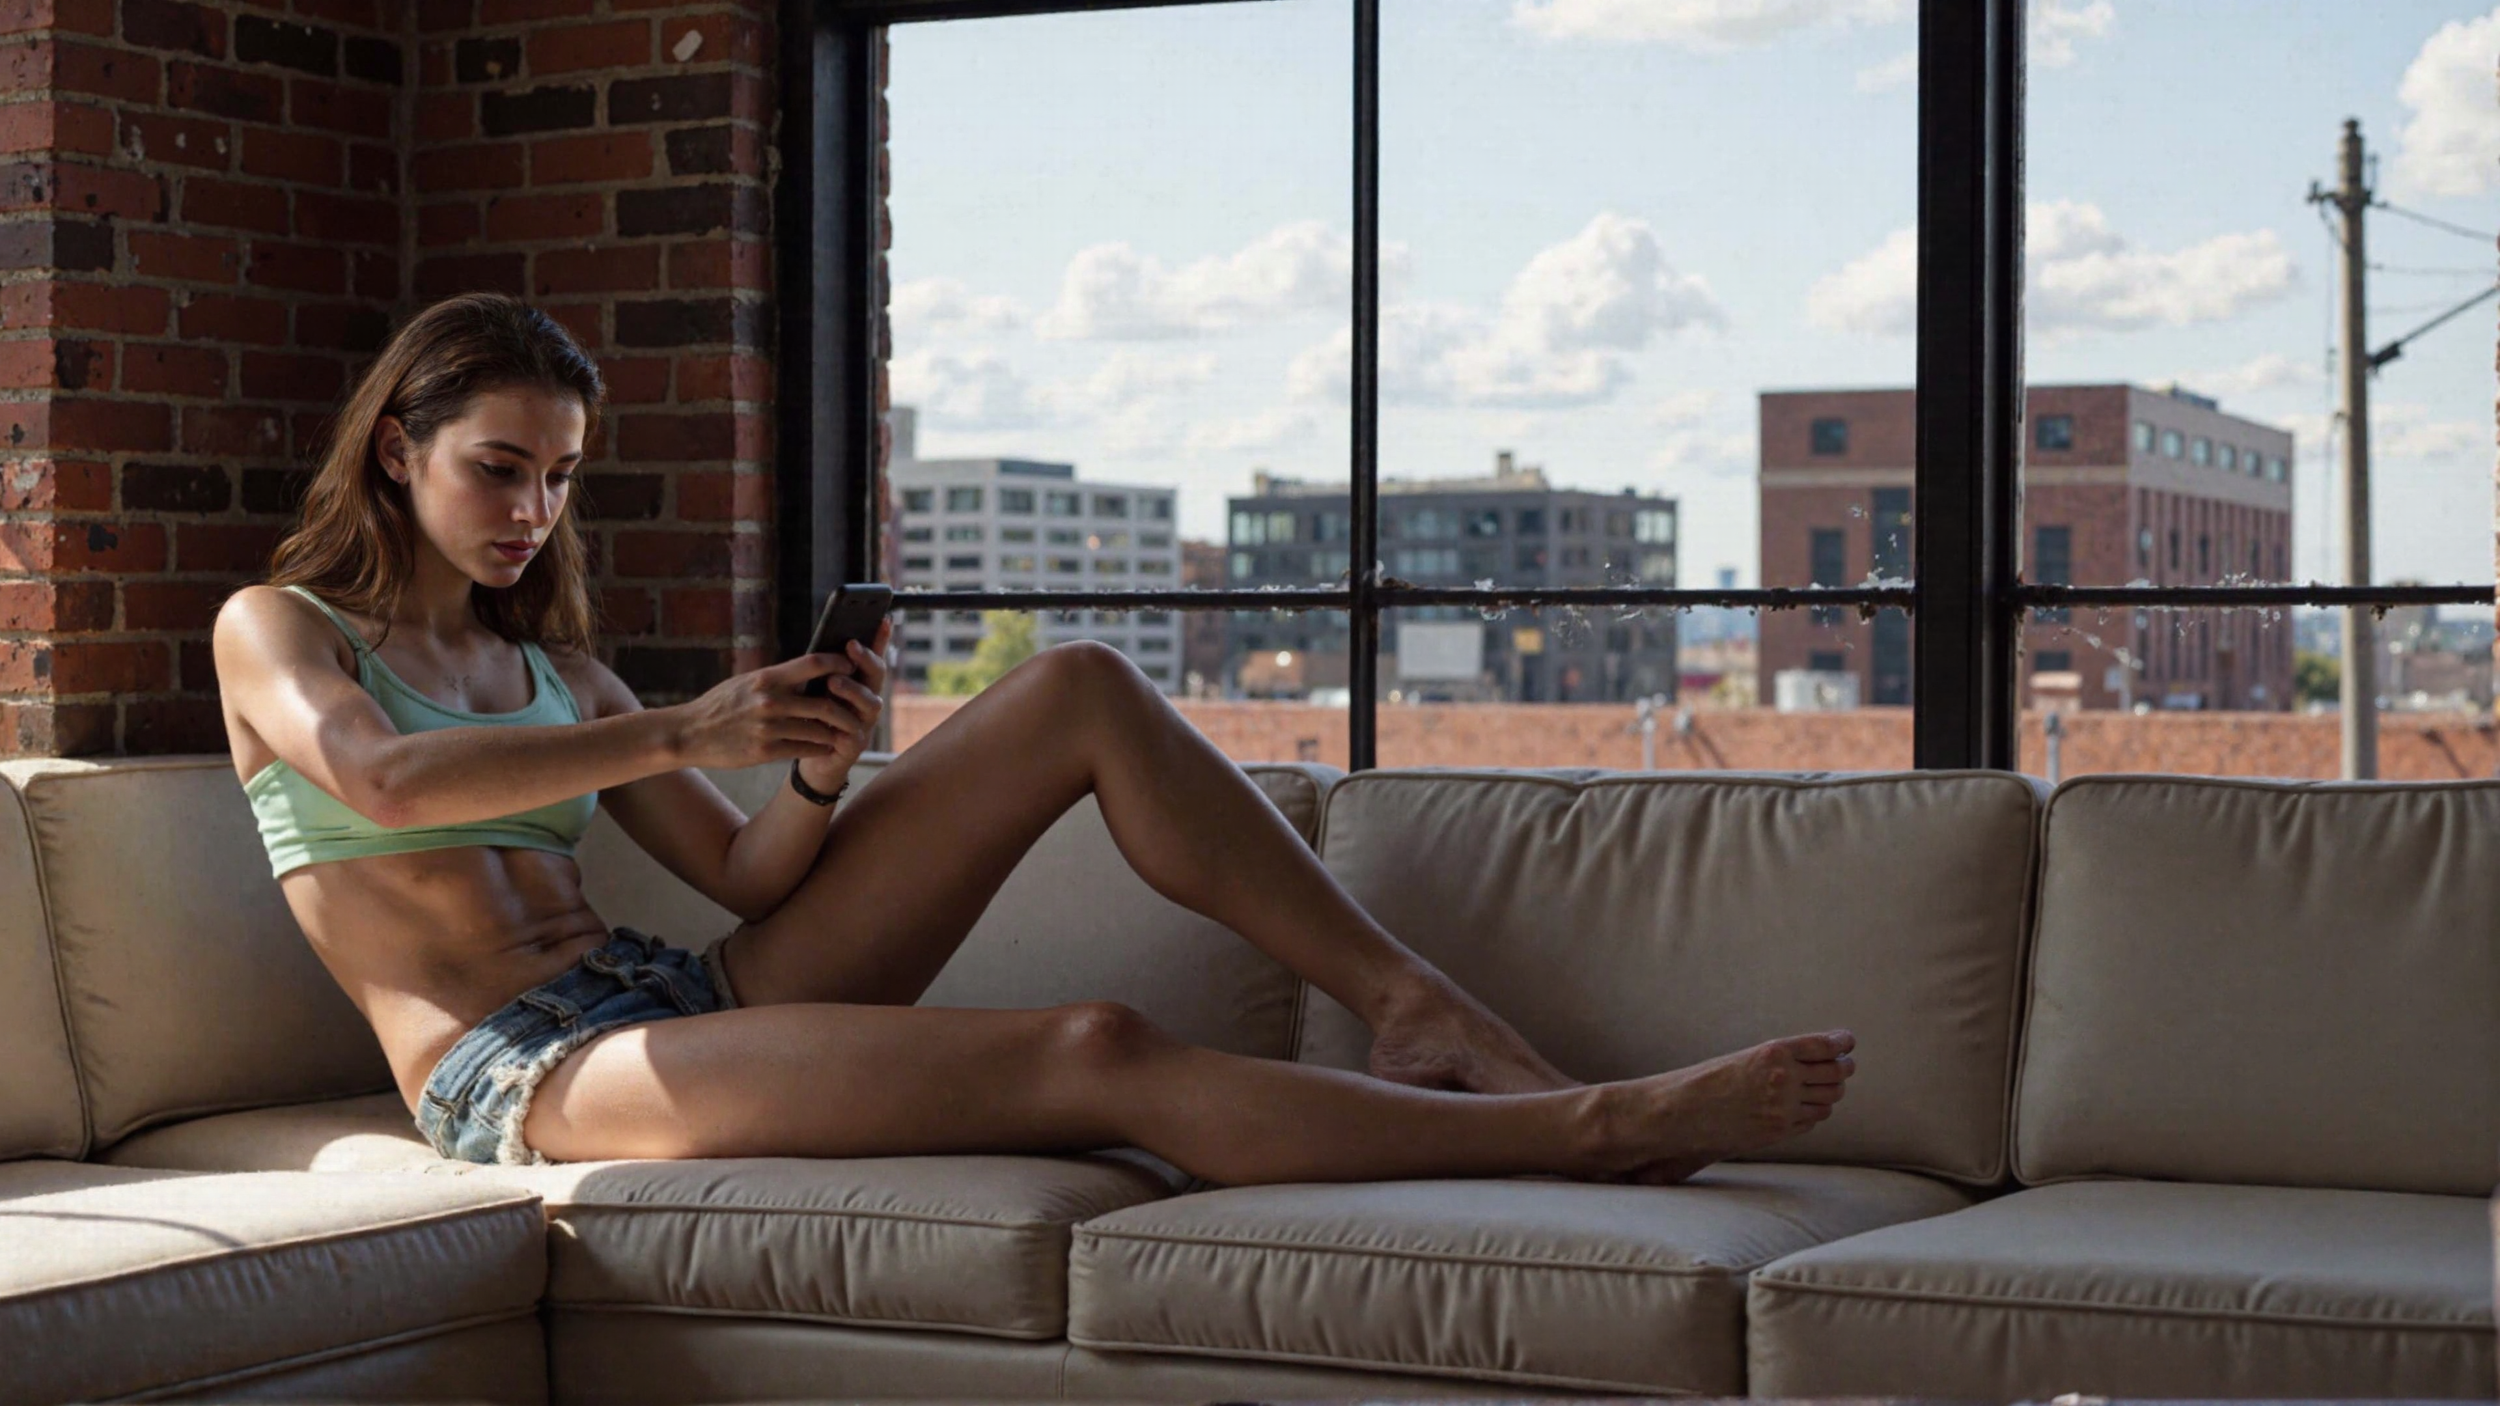
The same process is repeated for the whole series of Unreal-generated images. The colors are extremely washed-out and bright on purpose
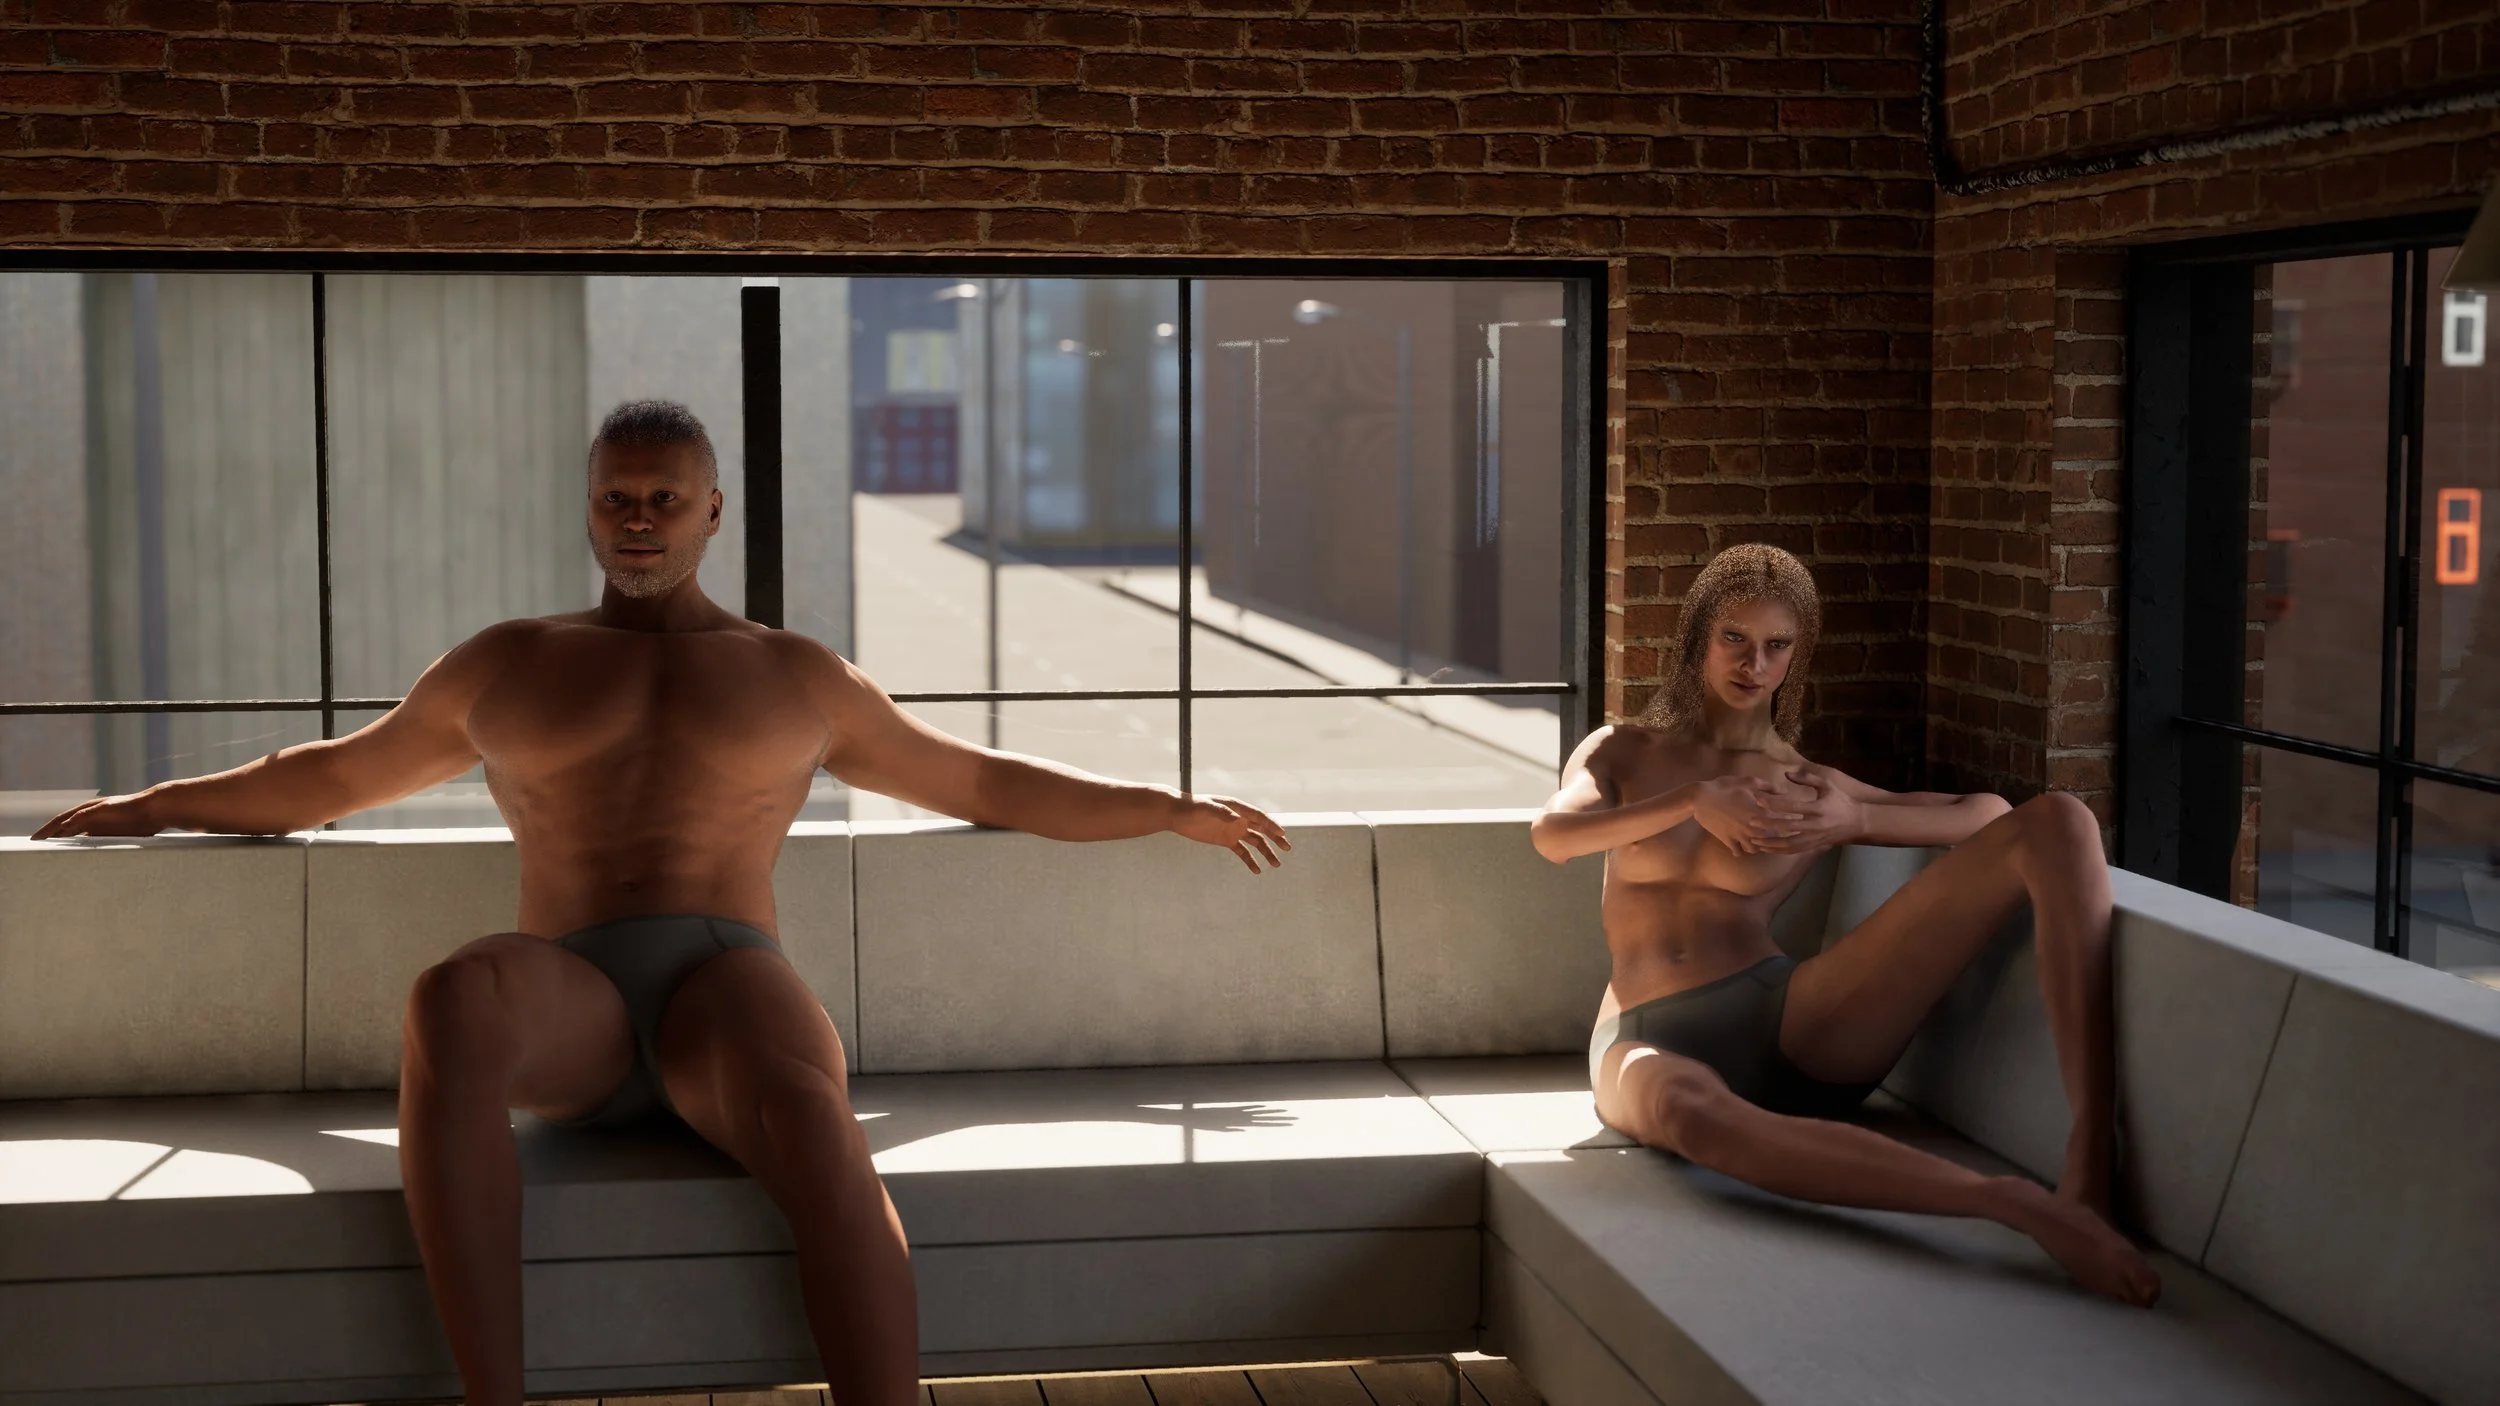
The next series of images go inside the loft to show the couple sitting on the couch watching TV. The Unreal images are on the left. On the right is the result of much processing and in-painting with Comfyui and Photoshop. Note that by prompting, I can change the clothes on the characters and do things like putting a phone in the woman’s hands. Notice that the buildings in the background go from blocky, vague shapes to something more believable.
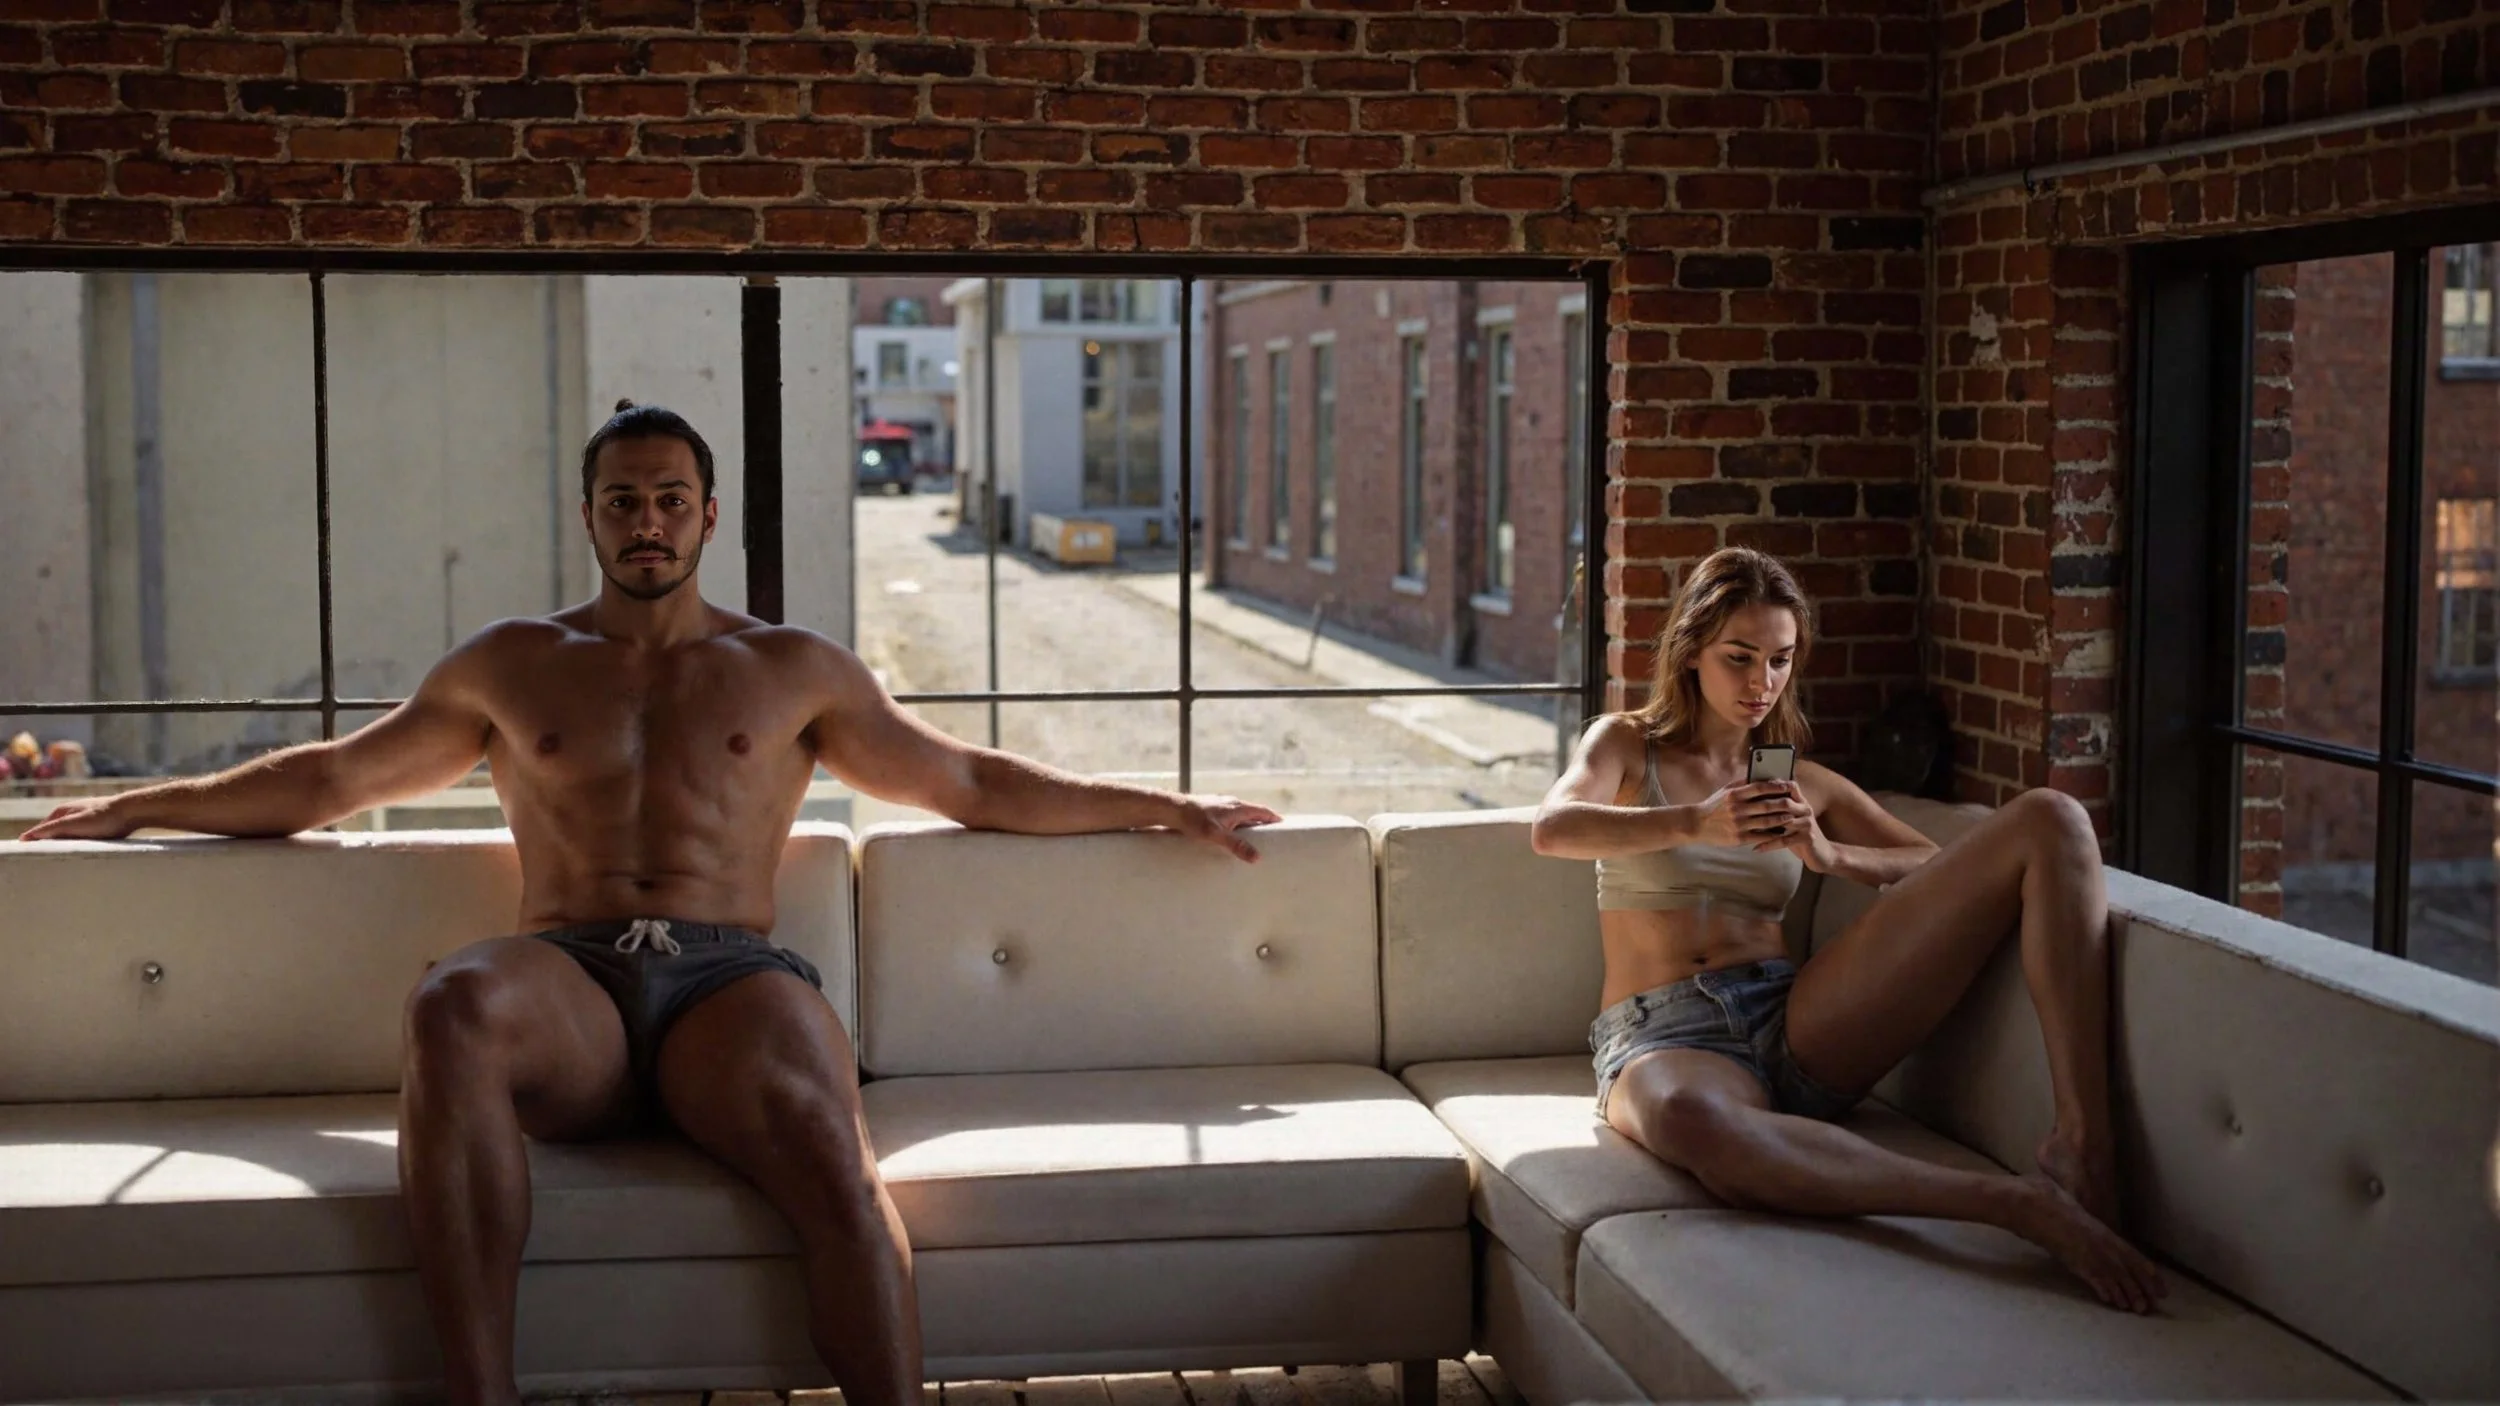

Because I have a fully-modeled environment to start from in Unreal, consistent scenes can be created and visualized from any angle.